Triple Salted Caramel Mini Cupcakes

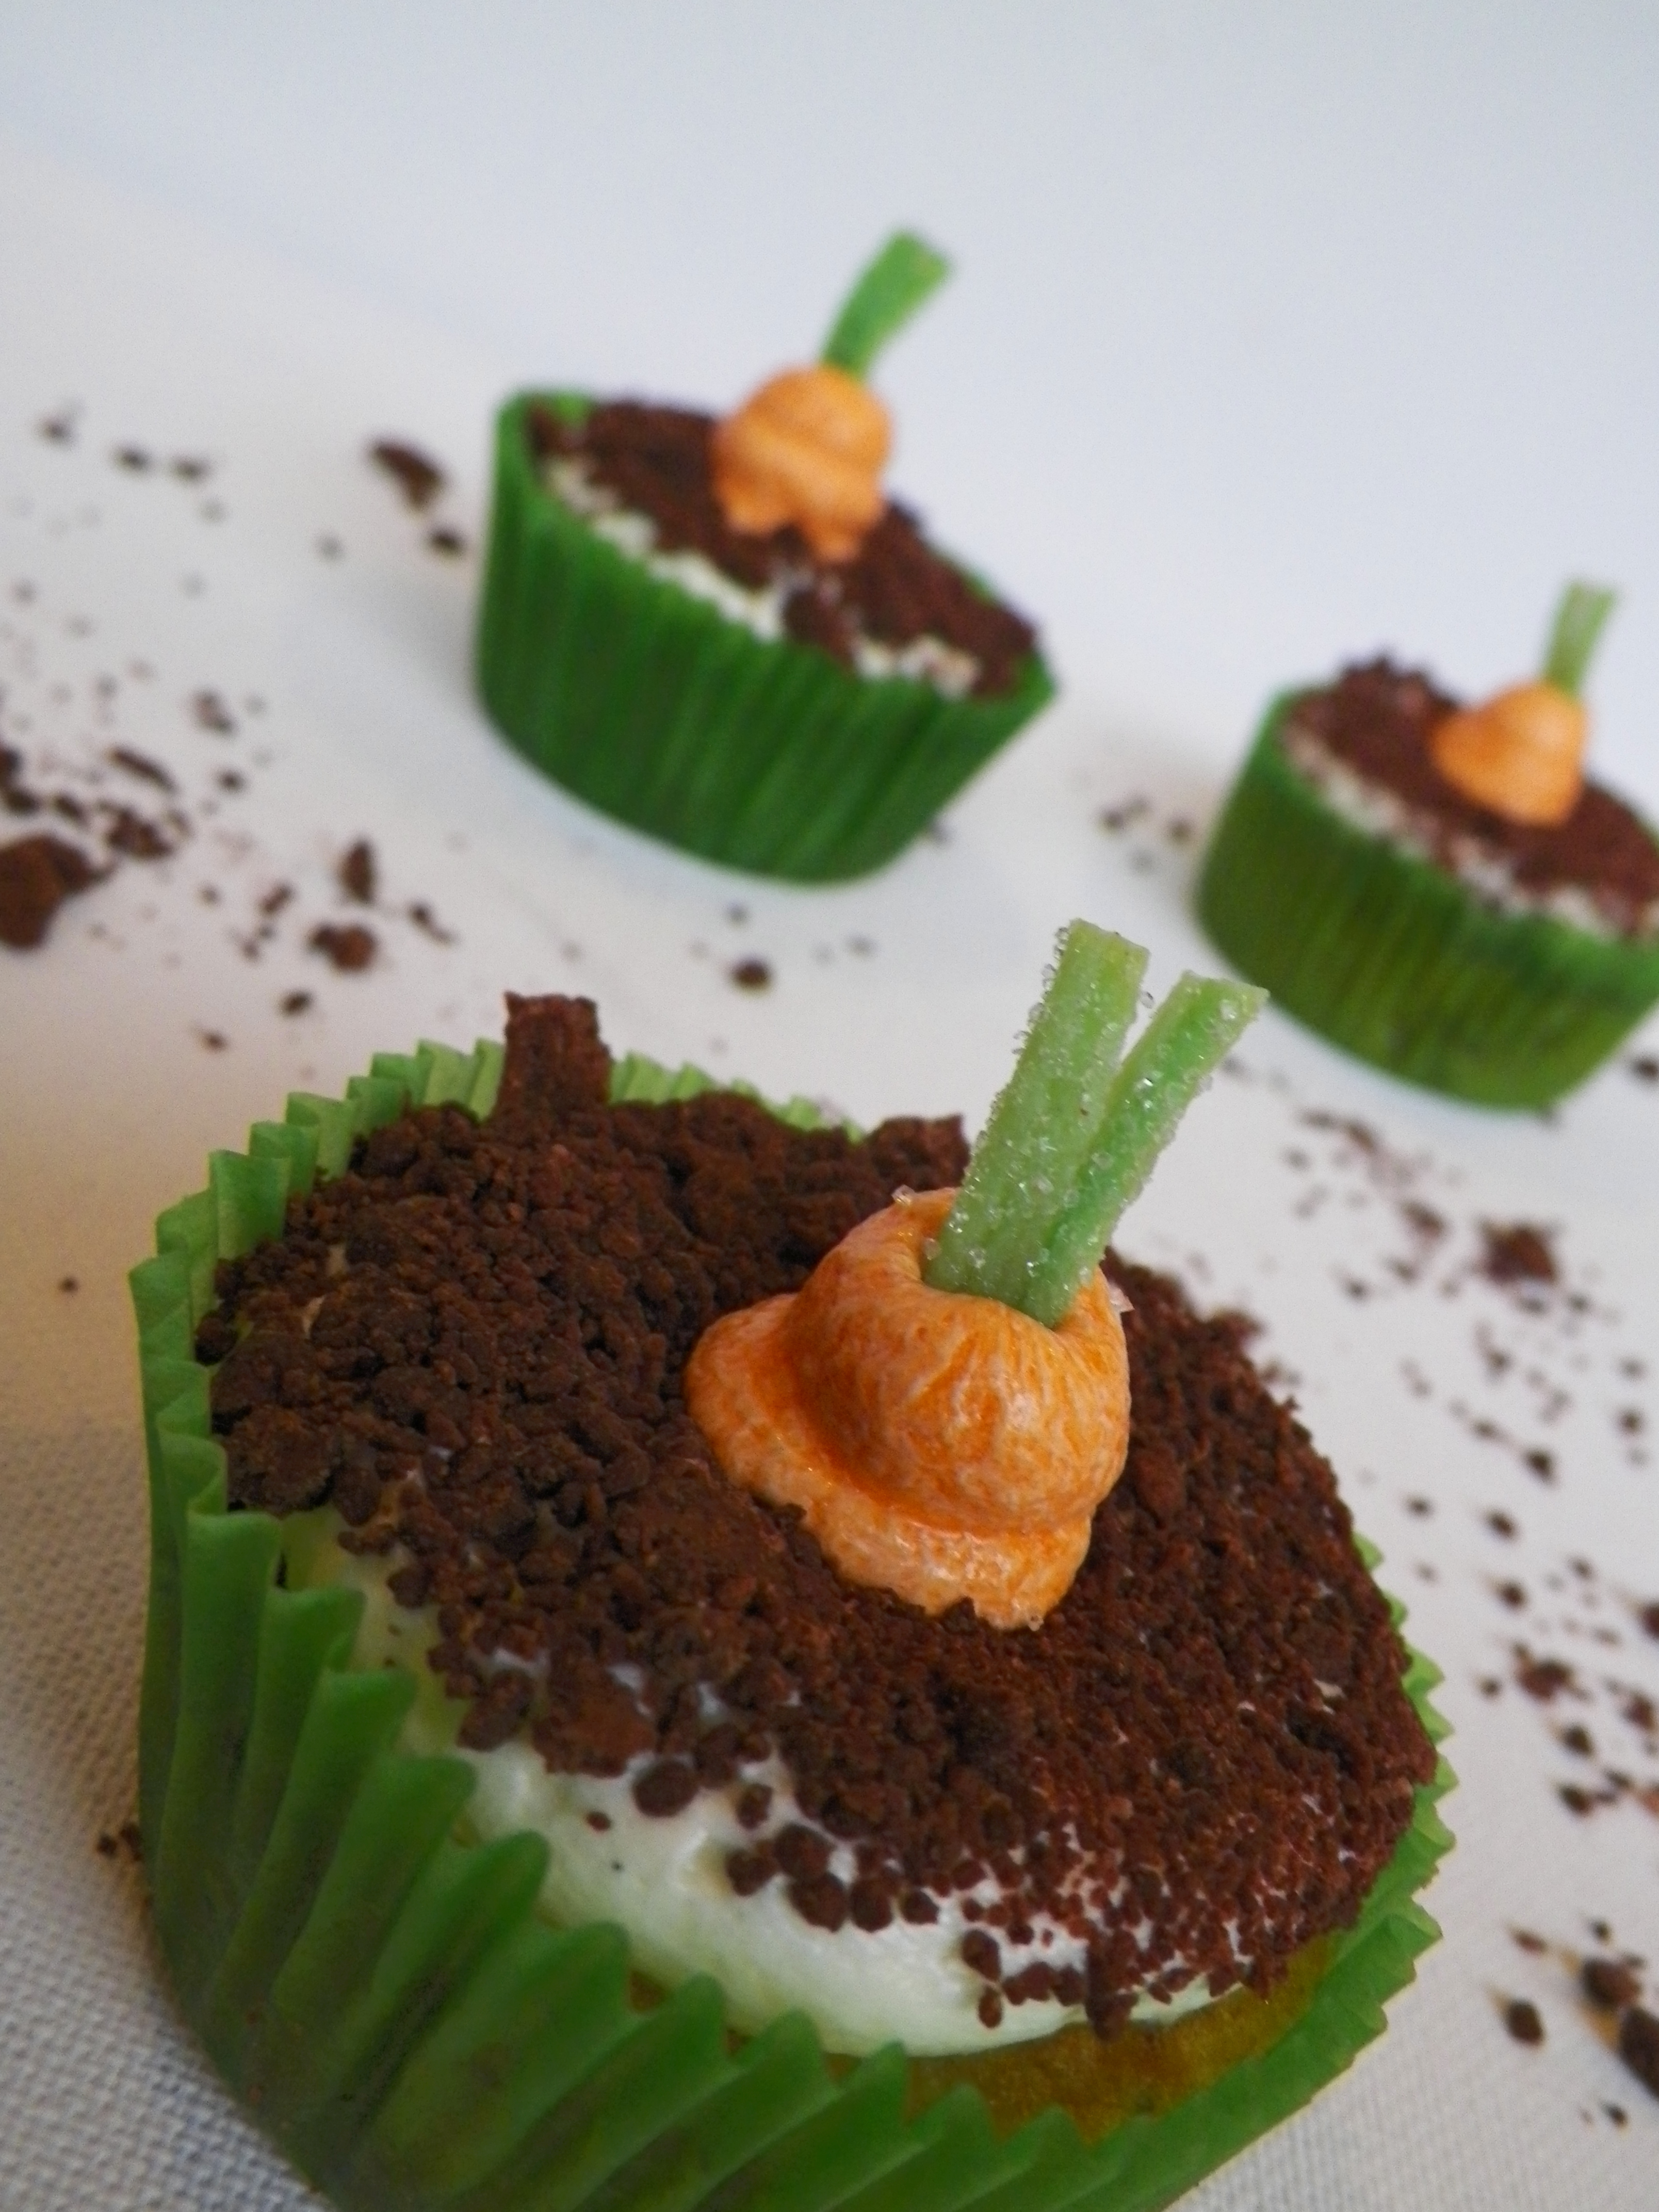
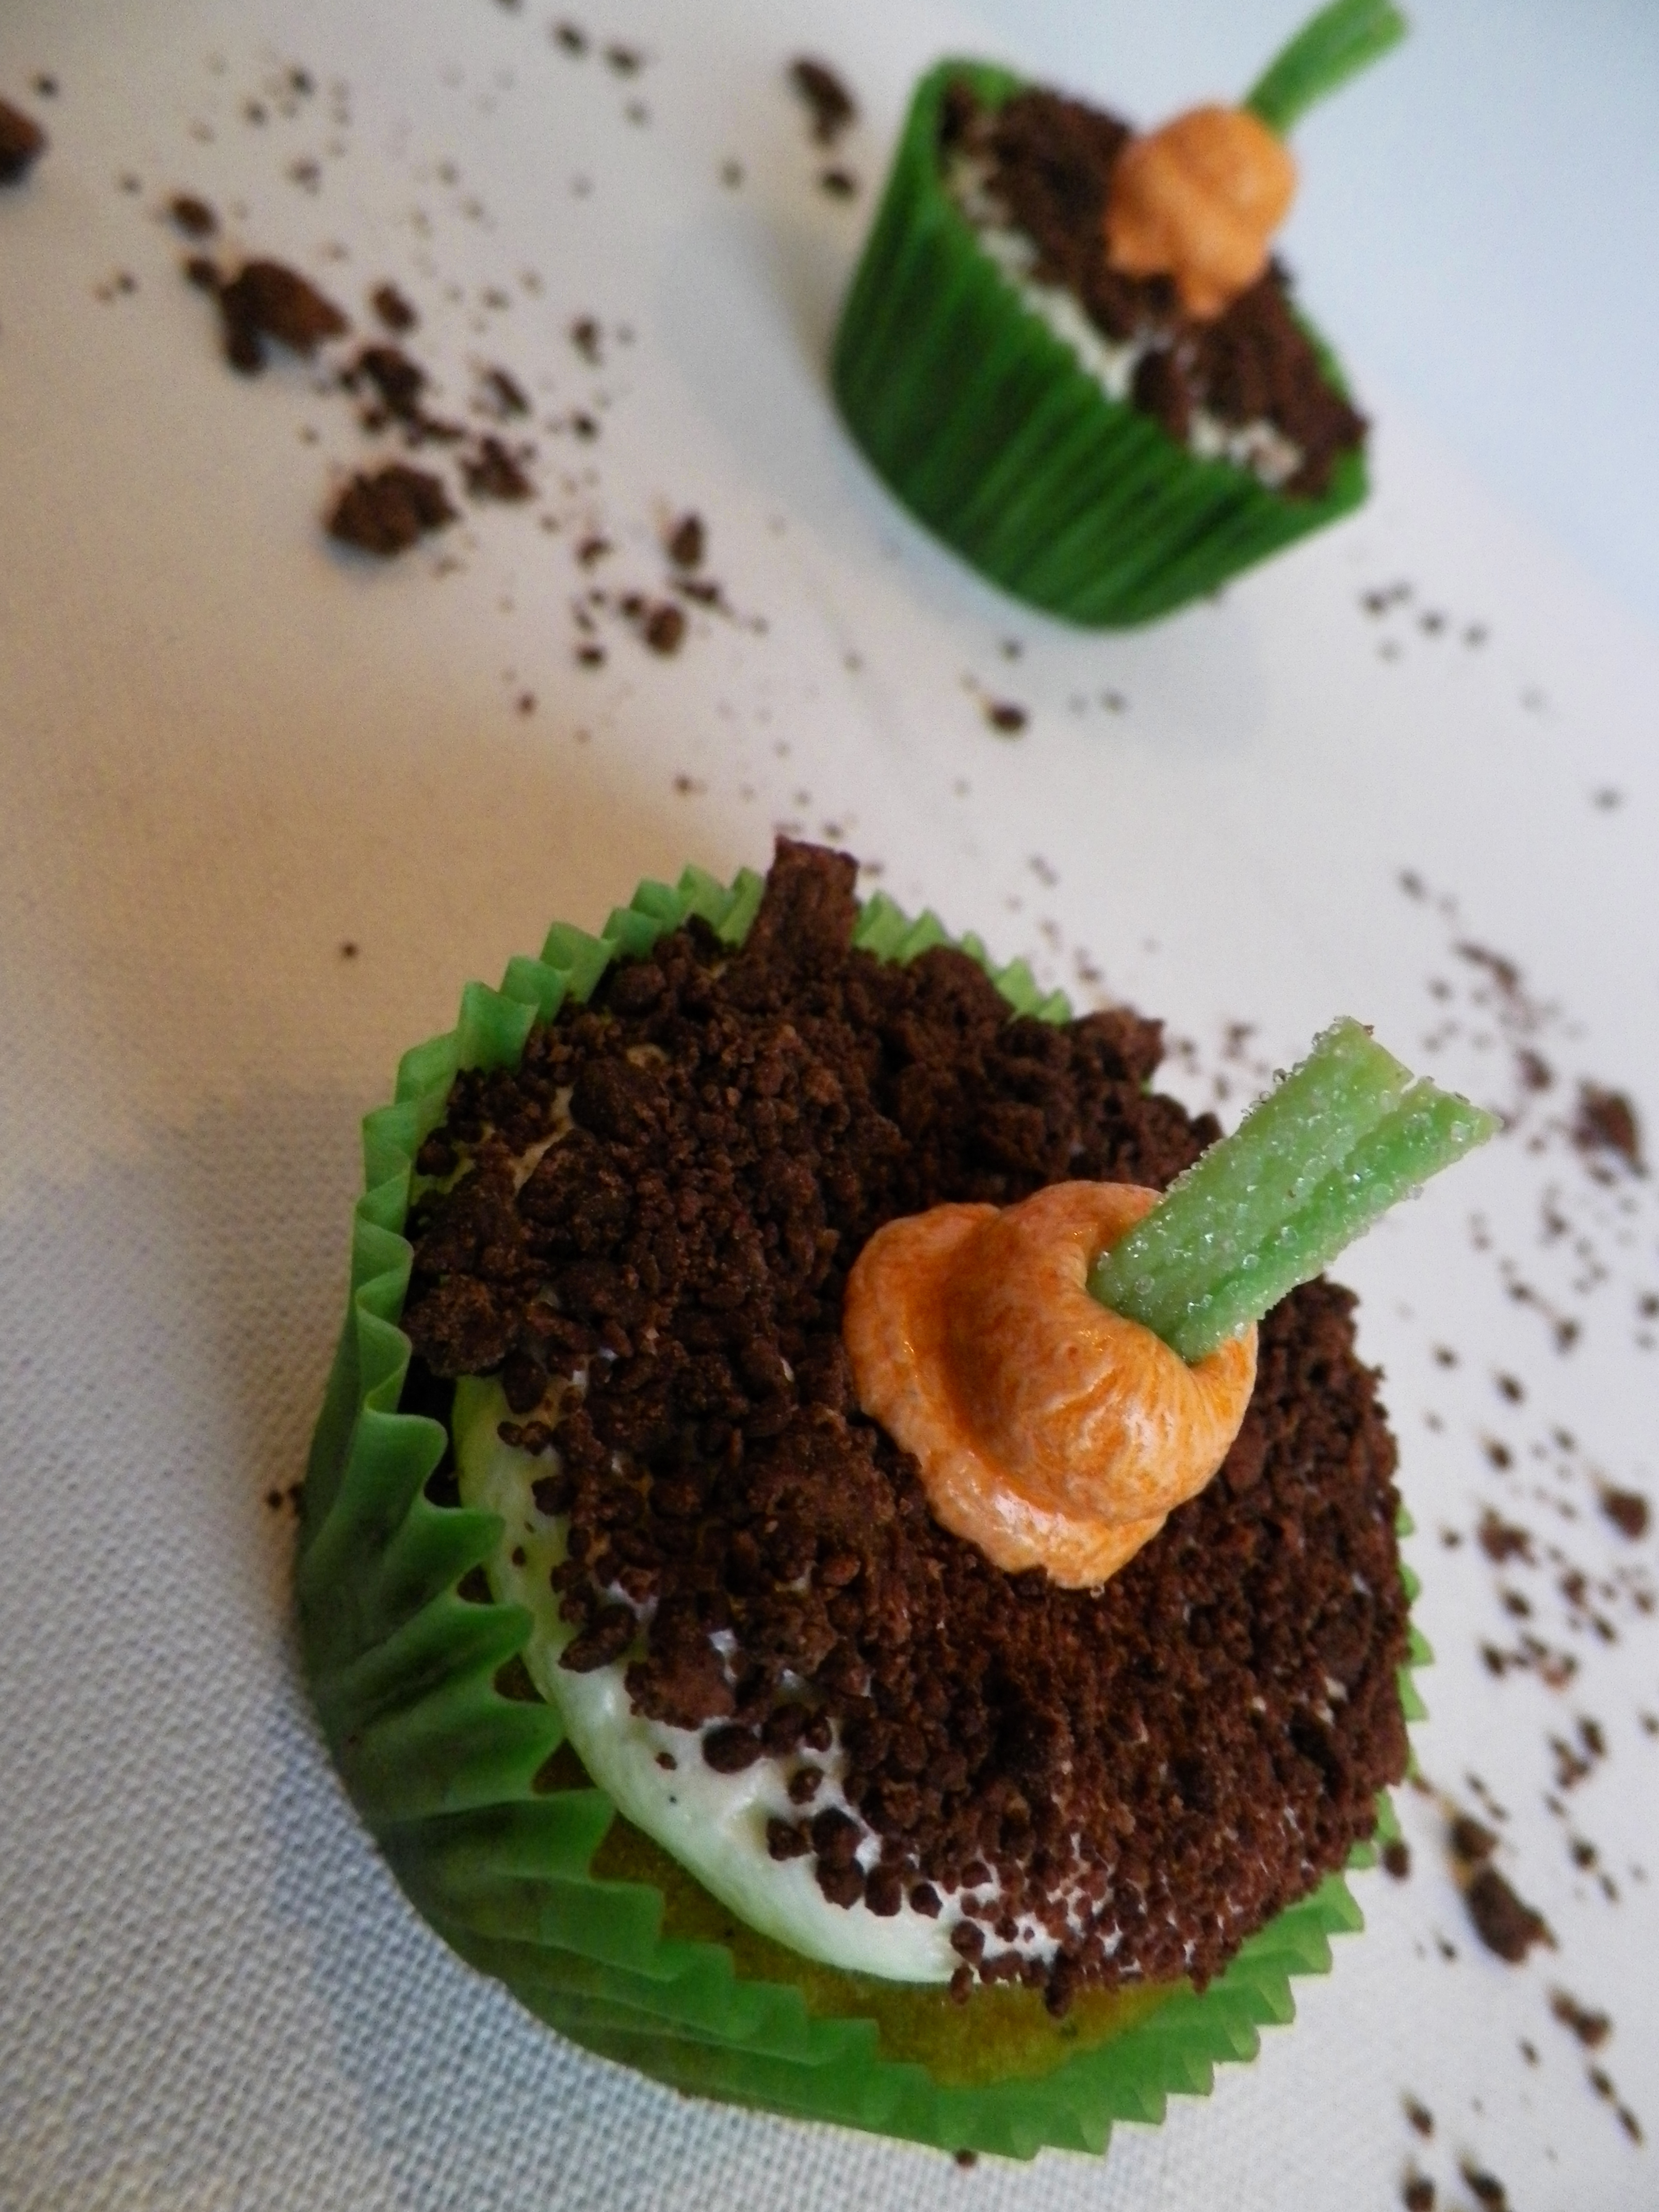
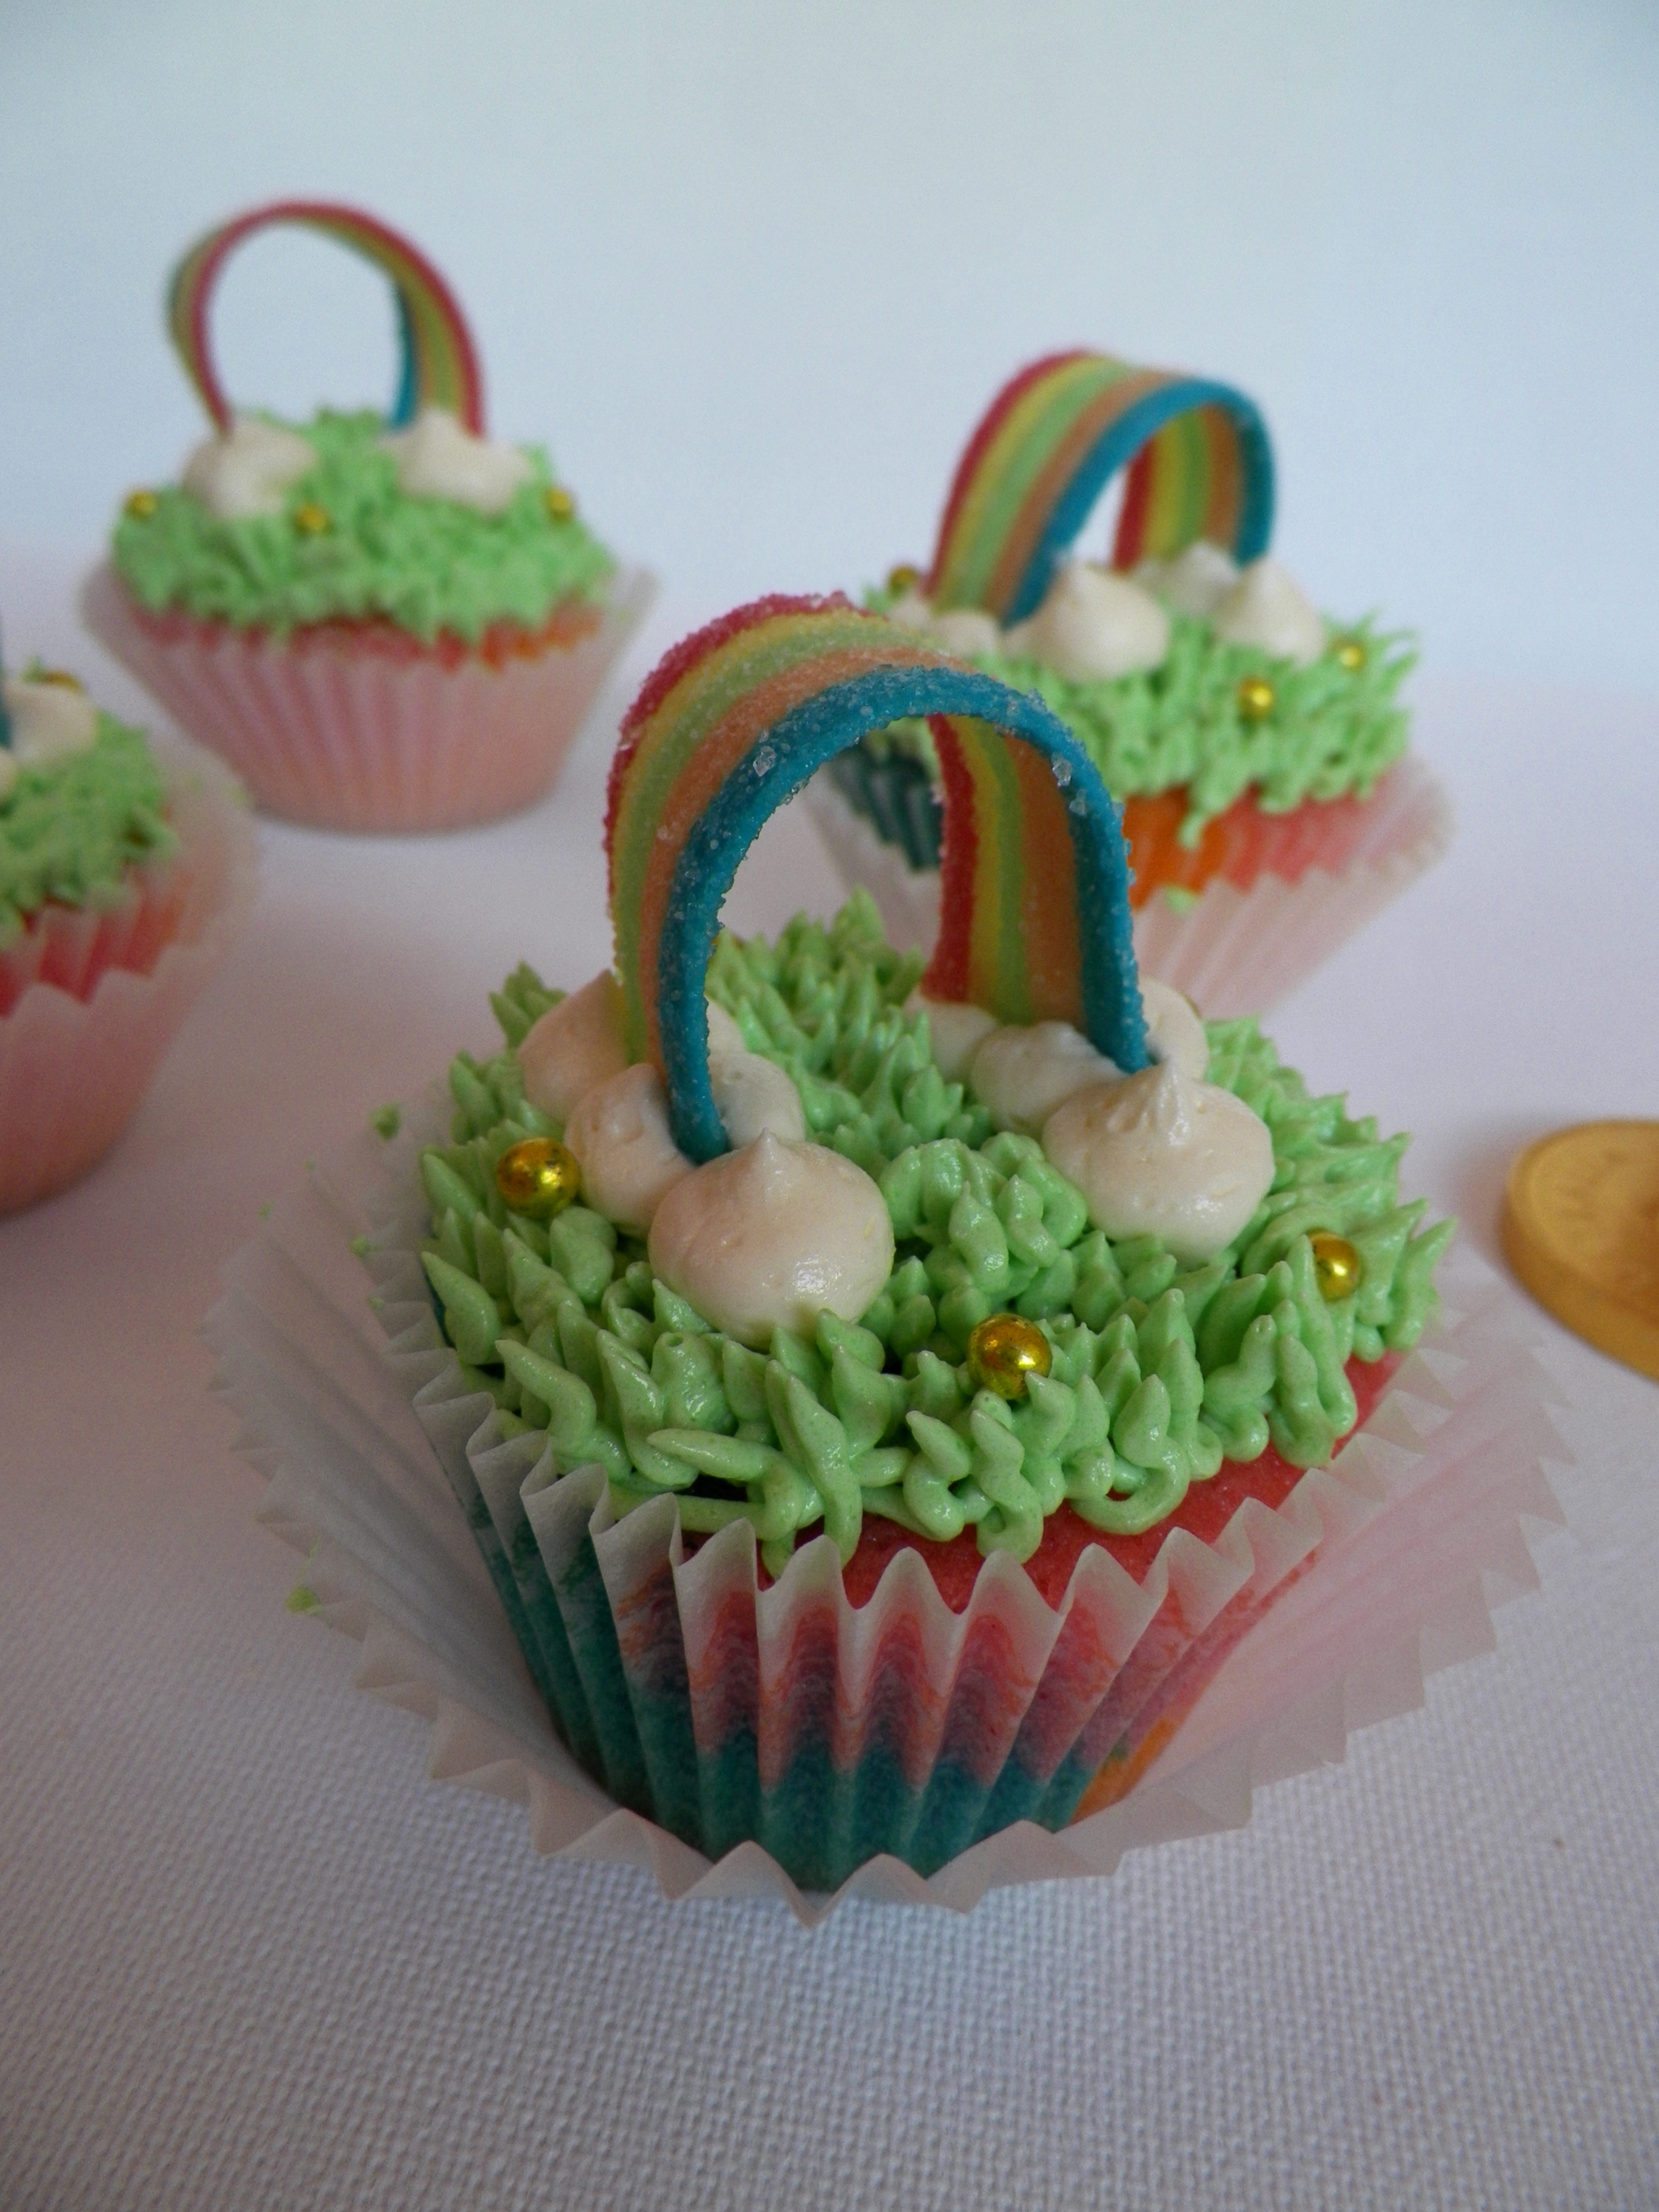
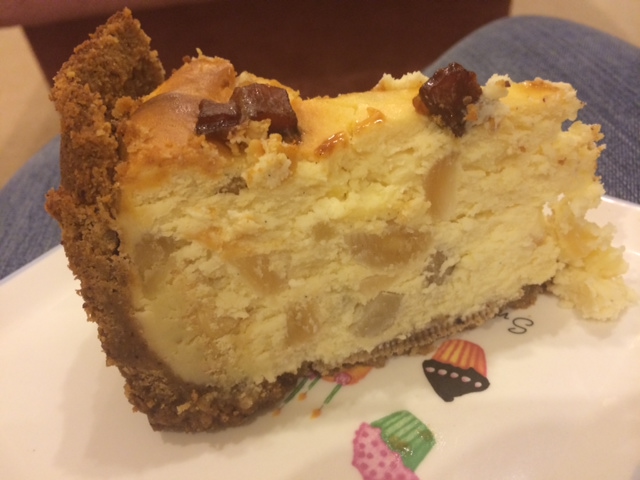
I made these super delicious morsels for the RSPCA Cupcake Day at work, and I believe they were quite the hit. Well, I’m guessing they were, as there were none left at the end! If you follow my blog, you will know I am the number one lover of all things salted caramel, and these cupcakes did nothing to change my opinion. They were yum. Really yum.

000_0007

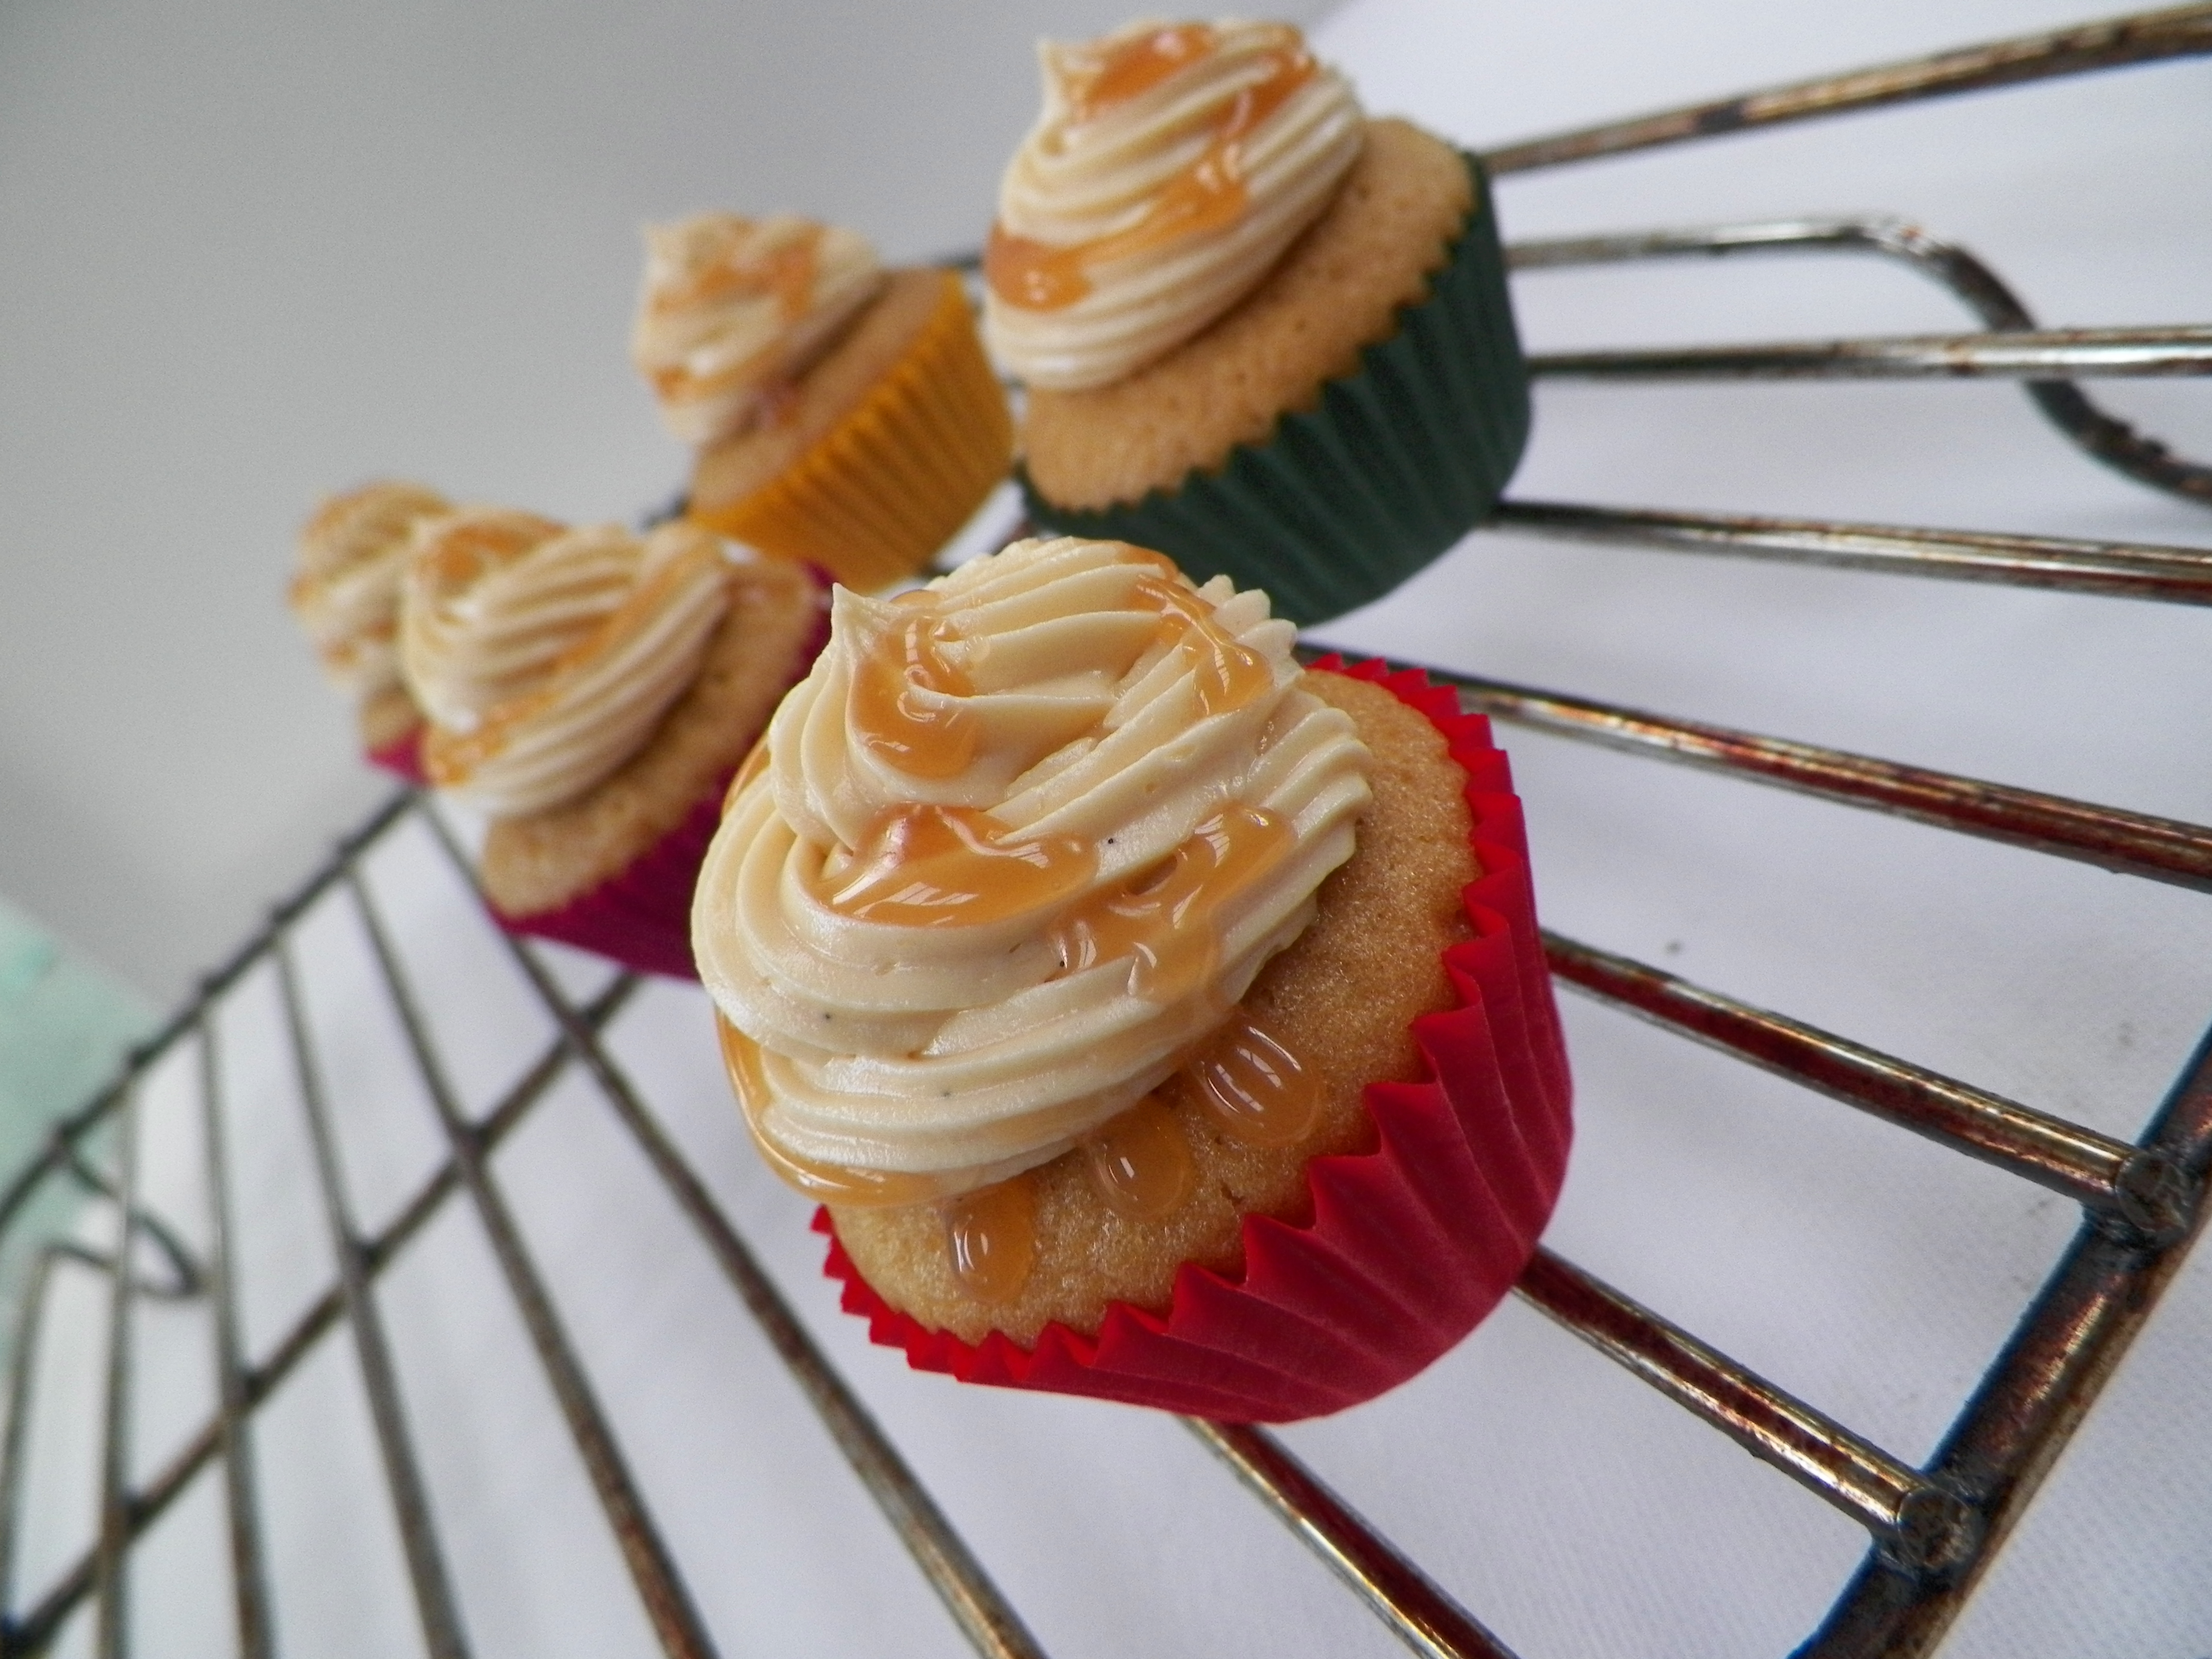
I’m happy I made the wise decision to make them minis, though. They were the perfect size. Not too big, and not too small. Just enough to pop them in your mouth all at once, to close your eyes and go to heaven for a few seconds. If I could have, I would have popped and definitely not stopped. I really am a shocker. As I sit here, I have a fresh tub of the biggest Nutella (one of my many other loves) you can get at the supermarket, right next to me, and a spoon clumsily hanging from my mouth. I may have slightly freaked out about the prospect of a worldwide Nutella shortage. Anyway, back on track…

000_0015

Salted Caramel Cupcakes: (from Gourmet Getaways) Makes approx. 60 mini cupcakes

  • 190g butter, chopped and softened
  • 150g white chocolate, chopped
  • 1 cup brown sugar
  • 1/3 cup golden syrup
  • 1 cup milk
  • 2 1/2 cups plain (all-purpose) flour
  • 1 1/2 tsp baking powder
  • 2 eggs

Preheat oven to 170c. Line cupcakes trays with cases. In a large saucepan, combine butter, white chocolate, brown sugar and golden syrup, and place over a medium heat, stirring with a metal spoon until combined and melted, and the sugar is dissolved.

000_0002


Remove from the heat, add the milk, and let cool for 10 minutes. Stir through the flour and baking powder until combined. Add eggs, one at a time and stir until combined. Fill cupcakes evenly, and bake for approximately 18 minutes, or until a skewer comes out of the cakes clean. Cool in tins for 5-10 minutes, and let cool on wire racks.

000_0005

Caramel Maison: (this recipe is on page 245 of Adriano Zumbo’s cookbook)

  • 220g pouring (whipping) cream
  • 1 vanilla bean, split and seeds scraped (I used 1 tsp vanilla bean paste)
  • 120g water (this is just under 1 cup)
  • 300g caster (white) sugar
  • 60g liquid glucose (available at most supermarkets)

Place the cream and vanilla in a small saucepan over a medium heat and bring to the boil. Remove from the heat, and remove the vanilla bean if you are using one. In the meantime, place the water, sugar and glucose in a larger saucepan over a low-medium heat and cook until the glucose and sugar are fully dissolved, stirring occasionally. Zumbo says to use a clean pastry brush dipped in water to clean the sides of the saucepan in order to avoid crystalisation, however you can also just place the saucepan in really hot water with suds just after use and the sugar will melt off really easily. Increase the heat to medium, and cook the sugar mixture until it reaches a dark amber colour. This does take quite a while, and I was getting worried that mine would not work, but persistence is key here, it will eventually darken after 10-12 minutes. Very carefully stir the cream mixture into the sugar mixture slowly – be very careful because it spits and releases lot of heat. I found the best way to do this was with a spoon with a very long handle, as you want to keep your face as far away from the saucepan whilst it is spitting. If you don’t have a spoon with a super long handle, just add the cream really slowly and try to stir as best you can! Keep stirring as much as you can until the caramel settles down, then stir until completely smooth. Transfer to a bowl, let it cool to room temperature, cover with plastic wrap and place in the fridge.

Caramel Buttercream: (this recipe is on page 42 of Zumbo’s cookbook)

  • 150g unsalted butter, chopped and softened
  • caramel maison (prepared earlier. Leave 2 tbs for the sauce to drizzle on top of cupcakes)
  • approx. 2 tsp sea salt

Place the butter in a bowl, and beat until light and fluffy. Warm the caramel maison in the microwave until it reaches a pouring consistency (mine needed 1 min, 20 seconds on high as it was in the fridge overnight), however, just warm it in stages to prevent burning the caramel. With the beater running slowly, add the caramel maison to the butter and continue mixing until thick. Once I had added about half of my caramel, I got a bit worried because it looked like it was curdling, however as I kept adding the caramel, it began to thicken up. Once you have added all of the caramel, fold in the salt. I did not measure my salt, as I used a shaker. So if you too are using a shaker, you can salt to taste.

000_0014

Assembly:

Place your preferred piping nozzle in your piping bag, and fill with caramel buttercream. Pipe swirls/rounds onto cupcakes. For the sauce, take the 2 tbs of caramel maison left, warm in microwave until it is an almost liquid like consistency. Pour into a sauce bottle or similar, and drizzle over each cupcake. To store, place cupcakes in airtight containers, and leave at room temperature, in a dry area.

000_0018


Cappuccino Choc-Dip Macarons

Trust me to make macarons more difficult than they already are! I didn’t think the choc dip component of these special delights would be that tricky, but they turned out to be quite fiddly, and very messy. It was worth it though, as they were quite delicious. It’s been forever since I have made anything remotely coffee, and I tend to forget how yummy coffee flavoured desserts and sweets can be. This flavour went down really well with my family and colleagues, and even my boyfriend who loathes coffee quite enjoyed it, too. Winner! Also, apologies for the photos. I’ve been having issues with my good camera, so my iPhone had to do the job this time around.

Cappuccino Macarons

 The filling was super easy to make. It’s a basic buttercream with a bit of coffee thrown in. You just have to make sure to get the balance just right – not too much coffee, not too little. The flavour worked really well with the salted butter, and the dark chocolate dip. Even though it was messy, I’d totally do the choc dip again. It makes them just that little bit extra indulgent – perfect in the throes of Winter!

Macarons:

This recipe is Adriano Zumbo’s, and was published a couple of years ago in the Herald Sun. You will definitely need kitchen scales to make macarons.

  • 135g almond meal
  • 135g icing sugar
  • 125g caster sugar
  • 45g egg whites
  • 50g egg whites
  • 40g water

Spray four oven trays with cooking oil spray around the edges, and line with baking paper and set aside. Place almond meal and icing sugar in a large bowl, and sift together 3 times. Set aside, along with the 45g egg whites. Put 50g egg whites in a separate bowl. Heat caster sugar and water in a small saucepan, over a low-medium heat, until the sugar completely dissolves (if it slightly burns my tongue, it’s done!). If you do not want to burn your tongue, Zumbo suggests investing in a candy thermometer and heating the syrup until it reaches 118 degrees C (244 degrees F). If the syrup becomes thick and powdery in appearance, you will need to start again. This is because the sugar has been heated too much, too quickly, and instead of dissolving, it has cooked.

Begin beating the 50g egg whites with one hand, and with the other, stream the hot sugar syrup down the side of the bowl to create an italian meringue. Beat until stiff peaks form, the meringue should be thick and very glossy. Pour meringue into the almond meal, icing sugar and 45g egg whites mixture and mix roughly to combine. When combined, fold mixture together (one single stroke) until there are no air bubbles left. Make a spread across the top of the mixture, and it should disappear in about 20 seconds. Spoon mixture into a piping bag fitted with a round nozzle. If you don’t have a piping set, most supermarkets sell plastic disposable ones with a few different nozzles. You should be able to find them in the baking aisle. Lock the bag by spinning the top around 4 times. Pipe 3-4cm rounds on the oven trays prepared earlier. Tap the bottom of the trays on the kitchen bench and let them sit for about half an hour, or until mixture is dry to the touch. Don’t rush this process – you want the shells to be completely dry. Otherwise, it is unlikely that the ‘foot’ of the macaron will be formed.  Preheat your oven to 125c or 135c, fan forced.

Macarons

Place in oven and bake for 8 minutes. Turn trays around, and bake for another 9 minutes. To check if shells are cooked, gently lift one off the baking paper. If it peels of easily, they are done, if not, keep checking at 2 minute intervals. Furthermore, if you notice the tops have a slightly crumpled look after you take them out of the oven, put them back in for another couple of minutes. In my experience, this means that they are slightly undercooked and/or haven’t dried out enough before cooking. Cool on trays for 5 minutes, then peel off and place on a wire rack. The mixture should make about 12 -15 large macarons, and about 25 smaller macarons. Macarons keep really well (about 5 days in the fridge) and some say that the longer they are refrigerated, the more the flavour is likely to develop. Macarons taste best when they are stored in the fridge, then brought down to room temperature to eat.

Cappuccino Buttercream:

  • 200g salted butter, chopped and softened
  • Approx. 1 cup icing (confectioner’s) sugar
  • 1 tsp vanilla bean paste
  • Approx. 30ml espresso (you can use coffee bags or instant powdered/granule coffee as well, just make sure it’s not too watered down)

Beat butter until pale and creamy. Add vanilla bean paste and beat until combined. Gradually add sugar and coffee to butter mixture. Please be careful with adding the coffee, as you don’t want to add too much liquid at once, otherwise the butter may split and curdle. Add it slowly and keep tasting until happy with the strength and flavour.

Cappuccino Macarons1

For the choc dip, melt good quality dark chocolate in a small glass bowl/ramekin. Don’t use anything too deep because it will make it harder to dip the macaron in and out of the chocolate. I melted the chocolate gradually, as I needed it, as I didn’t want it to harden, because the dipping process did take a while. Overall, I ended up using about 200g of melts (small chocolate bits). Melt chocolate in 20 second increments in the microwave, and use a metal spoon to stir. Melting the chocolate in short  increments will keep it from burning and turning into that horrible lumpy, grainy consistency. Once chocolate is smooth and glossy, gently dip each macaron half way into the chocolate, using a teaspoon to remove the excess, and place on an oven tray lined with a fresh sheet of baking paper. Once chocolate has hardened, dust macarons with cocoa. Place in an airtight container in the refrigerator, and bring to room temperature to eat.

Cappuccino Macarons2

 Whilst the weather here in Melbourne is pretty horrible at the moment, like, ice-all-over-your-car-in-the-morning kind of horrible (Aussie’s are not used to this!), the upside is that it’s perfect macaron making weather! No humidity, no air conditioning. Take advantage of it if you can!


Have a great weekend, and Happy Baking! 🙂

Learning how to cook like a Parisian – an amazing experience at La Cuisine, Paris

When I was in Paris last year, I desperately wanted to do a cooking class, but as we were travelling for a long time on a tight budget, unfortunately, it just didn’t happen. However, I was very lucky to be going back to the city of love for a short visit this year, so there was no doubt in my mind that I would be doing a Parisian cooking class this time! I chose to do the class with La Cuisine as they had excellent reviews, and boy, am I glad I went with them! They really were fantastic. We chose to do the Market Class, where the group met at a local farmers market to choose the menu and buy the ingredients for the lunch. We then took a short stroll to the kitchen, in the hot Parisian summer sun, via the Notre Dame.
Fish
Fruit
Cheese
La Cuisine gave our group freedom to choose what we wanted to eat – there was no set menu. We chose sea bream for the main, and some ripe peaches and apricots for dessert, along with some beautiful cheeses, vegetables and baguettes.What I loved about the market was that our wonderful chef, Emilie, explained everything to us. She showed us what to look for when choosing fish, how to tell if fruit and vegetables are ripe, and gave us a thorough run down on different types of French cheeses and breads. One of the cheeses we had was a special cheddar type, where, in the process of making this cheese, little cheese mites (yes, little bugs!) huddle around the outside of the wheel, protecting the cheese from bacteria. Some people thought this was pretty disgusting, but I thought it was kind of cool that little bugs could help produce a delicious cheese! And delicious it was! (FYI – the mite cheese is the orangey one at the bottom).
Cheese2
When it was time to cook, everybody helped out and did their bit – it was certainly a team effort. Emilie showed us how to fillet a fish, which I did for the first time – it was a pretty horrible effort though, I pretty much hacked the poor thing to bits! Lucky I wasn’t the only filleting virgin. To go with the sea bream, we made a cauliflower puree, mini roasted carrots, onions and radishes and a buerre blanc sauce. This sauce was easily my favourite part of the whole lunch, and I could have drank a whole bowl of it. It was delicious – but let’s face it, anything with a truckload of butter, white wine and onions is bound to taste pretty damn good.
Main
For dessert, we made an almond and hazelnut financier, with roasted peaches and apricots and chantilly cream. This was a really delicious dessert. The peaches and apricots were sliced up, brushed with butter, and roasted with brown sugar and rosemary, an unexpectedly delicious addition. The financier was dense and buttery, and with the chantilly cream, it was really great. I am definitely looking forward to making this again.
Dessert
If you are going to Paris in the near future, and love food, I really recommend you check out ‘La Cuisine’. They have lots of other classes to do with pastry, bread, chicken and more. If I had the time, I would have loved to do a pastry or macaron class! Oh well, next time! Thanks to La Cuisine and Emilie, for an unforgettable day 🙂

Oreo and Milk Cupcakes

I am a very big fan of Oreos, and always have been. I remember watching The Parent Trap when I was little and was very intrigued when the twins were talking about how they both loved dipping them in peanut butter. I tried it, and was hooked. There was no turning back! I made these cupcakes for the Australian Cancer Council’s Biggest Morning Tea, which was held at my workplace.

000_0005

I really wanted to put little milk bottles on top of the cupcakes, as well as the mini Oreo, but they were just too big, and they ruined the look a little. The taste of these babies was quite amazeballs, I must say. It was definitely a good idea putting a whole Oreo cookie at the bottom of the cake 🙂 Winner!

000_0009

Vanilla Cupcakes with Oreos: (adapted from the usual Vanilla Cupcakes recipe) Makes approximately 36 cupcakes.

  • 200g butter, chopped and softened, not melted
  • 1 1/3 cups caster (white) sugar
  • 1 tsp vanilla bean paste/extract
  • 4 eggs
  • 2 3/4 cups self-raising flour
  • 1 cup milk
  • 1 packet Oreos (I used some weird ‘Grab and Go’ packs as they were the only ones at the store. I would suggest using one whole long packet of Oreos!)
  • 36 extra Oreos (for the bottom of the cupcakes), crushed

Preheat the oven to 180c. Line cupcake tins with cases and place one whole Oreo biscuit at the bottom of each case. Beat butter, caster sugar and vanilla until pale and creamy. Add eggs, one at a time, and beat until each one is well combined. Add the flour and the milk in batches, starting and finishing with flour. Stir after each addition until well combined. Either in a food processor or with a rolling pin (or any other alternate way), crush one packet of Oreos. If you are using the food processor, just be careful as you don’t want the biscuits to be just crumbs. You want them to be chunky, so you get nice big bits when you’re eating the cake. Stir crushed Oreos into cake mixture. Spoon cake mixture into cakes with the whole Oreos at the bottom. Bake for 12-15 minutes, or until a skewer is inserted into the cake and comes out clean. Leave cakes to cool in tin for 5 minutes before transferring them to a wire rack to cool completely.

PicFrame

Condensed Milk Buttercream: (adapted from the awesome Raspberri Cupcakes)

  • 350g butter, chopped and softened, not melted
  • 2 cups icing (confectioner’s) sugar
  • 200g tube sweetened condensed milk
  • 1 tsp vanilla bean paste/extract
  • To decorate, mini Oreos

Beat butter until pale and creamy, approximately 4 minutes. Gradually add the icing sugar. Add the condensed milk and vanilla and beat until well combined and fluffy. I let mine go for about 4 minutes. To assemble, spoon buttercream into a piping bag fitted with a wide, round nozzle. Pipe large dollops onto cooled cupcakes, and top with a mini Oreo. Store at room temperature in an airtight container, in a cool place. I’m a big advocate of not putting cakes in the fridge. It just dries them out, plus cold cake is not pleasant. It’s as simple as that, in my opinion!

000_0004

This cupcake has been one of my favourites, to make and to eat. I always like to make my cupcakes a little bit different and I try to make them memorable. The Oreo at the bottom of the cake and that delicious condensed milk buttercream was a winner for me! Also, I am off overseas next week, and won’t be back until the end of July. I hope to have an interesting travel post for the blog. Until then, Happy Baking!

000_0010

Chocolate Passionfruit Macarons

It seems I’m developing a bit of habit of combining chocolate and fruit lately. This macaron flavour was inspired, or recreated, I should say, from my visit to Paris last year, where I had the most amazing macarons, unsurprisingly. Pierre Herme had an amazing Chocolate Passionfruit macaron, and the middle was the yummiest combination of creamy and bitter chocolate combined with that zingy and sweet hit of passionfruit, it was delicious. I did my best to try and recreate this wonderful moment, and I think I did quite well, but of course, nothing will ever compare to Pierre Herme!

000_0007

The ganache didn’t go quite as I hoped it would, as I think I made it too late. Ganache can take a long time to set properly. Next time I would probably leave it overnight. Then, I put too much liquid into the butter, and it split. Luckily, that was easily fixed, with more butter. But there’s not much that butter can’t fix. The flavour of the ganache was very full on when I made it. It was very sour and the chocolate was very bitter – I used 75% cocoa, next time I would probably use really good quality milk or a regular dark chocolate. You couldn’t really distinguish the chocolate from the passionfruit, it was too strong. However, as macarons tend to do, the flavour did develop, and they were much nicer the next day. Also, I’m super happy with these shells! One giant positive of colder weather = less humidity, prettier macs 🙂 Oh, and FYI, I have slightly changed my macaron recipe. It’s only the cooking times, but I’ve found the shells to be sturdier and chubbier since I’ve made the change.

000_0010

Macarons:

This recipe is Adriano Zumbo’s, and was published a couple of years ago in the Herald Sun. You will definitely need kitchen scales to make macarons.

  • 135g almond meal
  • 135g icing sugar
  • 125g caster sugar
  • 45g egg whites
  • 50g egg whites
  • 40g water
  • 1/4 tsp colouring gel, yellow
  • 1/4 tsp colouring gel, orange

Spray four oven trays with cooking oil spray around the edges, and line with baking paper and set aside. Place almond meal and icing sugar in a large bowl, and sift together 3 times. Set aside, along with the 45g egg whites. Put 50g egg whites in a separate bowl. Heat caster sugar and water in a small saucepan, over a low-medium heat, until the sugar completely dissolves (if it slightly burns my tongue, it’s done!). If you do not want to burn your tongue, Zumbo suggests investing in a candy thermometer and heating the syrup until it reaches 118 degrees C (244 degrees F). If the syrup becomes thick and powdery in appearance, you will need to start again. This is because the sugar has been heated too much, too quickly, and instead of dissolving, it has cooked.

Begin beating the 50g egg whites with one hand, and with the other, stream the hot sugar syrup down the side of the bowl to create an italian meringue. Beat until stiff peaks form, the meringue should be thick and very glossy. If you want to add flavouring/colouring, now’s your moment. So add the colouring now. Just lightly beat it into the meringue. Pour meringue into the almond meal, icing sugar and 45g egg whites mixture and mix roughly to combine. When combined, fold mixture together (one single stroke) until there are no air bubbles left. Make a spread across the top of the mixture, and it should disappear in about 20 seconds. Spoon mixture into a piping bag fitted with a round nozzle. (If you don’t have a piping bag set, most supermarkets sell plastic ones, they are Multix brand, in an orange box and contain 5 piping bags with a few different nozzles, plus they’re only about $3. You should be able to find them in the baking aisle). Lock the bag by spinning the top around 4 times. Pipe 3-4cm rounds on the oven trays prepared earlier. Tap the bottom of the trays on the kitchen bench and let them sit for about half an hour, or until mixture is dry to the touch. Meanwhile, preheat the oven to 135c, fan forced.

000_0002

Place in oven and bake for 8 minutes. Turn trays around, and bake for another 9 minutes. To check if shells are cooked, gently lift one off the baking paper. If it peels of easily, they are done, if not, keep checking at 2 minute intervals. Cool on trays for 5 minutes, then peel off and place on a wire rack. The mixture should make about 12 -15 large macarons, and about 25 smaller macarons. Macarons keep really well (about 5 days in the fridge) and some say that the longer they are refrigerated, the more the flavour is likely to develop. Macarons taste best when they are stored in the fridge, then brought down to room temperature to eat.

000_0004

Chocolate Passionfruit Ganache:

  • 100g good quality chocolate, dark or milk, depends how strong you like your chocolate
  • 170ml thickened cream
  • 170g can passionfruit pulp, strained from seeds OR depending on size, 4-5 passionfruits, strained of seeds

Place all ingredients in a medium saucepan, and stir over a low-medium heat until smooth. Pour into bowl and refrigerate. For best results, make ganache the day before serving. Ganache should be of a pipe-able consistency. OPTIONAL – if you like your ganache quite creamy, feel free to beat up 70g butter and add to ganache.

000_0011

Assembly:

Pair up likely macaron shells. Spoon ganache into a piping bag fitted with a wide round nozzle. Pipe rounds onto shells, and sandwich with another. You can dust with cocoa, if you like. Store macarons in an airtight container, in the fridge, and bring down to room temperature to eat.

Happy Baking! 🙂


Pear and Chocolate Layer Cake with Salted Caramel Buttercream

My friend asked me to make a special cake for a very special occasion, and she gave me complete freedom to choose the flavours and look of this special cake. I was a bit worried, because I wanted it to not only be creative and interesting, but also a crowd pleaser. It took me a while to come up with the idea that eventuated into the pretty little thing below,and I kept umm-ing and ahh-ing about every last detail. I’m pretty happy with the result.

000_0019

This is the first ‘naked’ cake I’ve made, and I must say I really like the look of the naked cake. It first worried me a little because covering a cake in icing kind of gives you a security blanket in that you can cover up all the flaws on the cake itself, but I love the rustic look, and also the autumn colours this cake has.

000_0017

I have used the combination of pear and caramel before, and really, adding chocolate to this magnificent duo, is certainly not going to do any harm! While it may seem a little rich, the pear is a nice fresh hit when paired peared with the creamy caramel and breaks the decadence up nicely, even though I would be so much more than happy to down a bowl of that caramel buttercream on its own.

000_0016


The recipes used here are nothing I haven’t made before, I’ve just adapted them a little differently.  You can find the caramel buttercream recipe on this post for Caramel au buerre sale macarons, and you can find the chocolate cake recipe here – I have just made it into three round cakes instead of cupcakes. As for the pear, there is one pear, chopped, in each layer, plus the whole baked pear in the middle of the top layer. Enjoy!

000_0014

Coming Up Carrot Cupcakes with Chocolate Cinnamon Soil

How is Easter almost here already?! It scares me how fast time flies these days, but hey, any excuse to bake, really. I found the idea for these awesome coming up carrot cupcakes on the ever-inspiring Pinterest. Unfortunately, I only saw them once and couldn’t find them again, so I don’t know whose idea they originally were, but they are pretty awesome.

 010

I first thought of crushing up dark chocolate biscuits for the soil, but I found this recipe to make your own by making a sugar syrup and adding dark chocolate. I was a little sceptical, but it worked really well, tasted great and added a nice crunchy texture to the cake. This was the first time I had ever make carrot cake, and I can’t really say I am a huge fan, but the cream cheese icing makes it all worthwhile!

 005

Carrot Cupcakes: (from Taste.com)

Makes approximately 20 cupcakes

  •  160g butter, softened, not melted
  • 2/3 cups firmly packed brown sugar
  • 1 tsp ground nutmeg
  • 2 eggs
  • 1 cup self-raising flour
  • 1 1/4 cups buttermilk
  • 1/2 cup plain (all purpose) flour
  • 1 cup grated carrot (I used 2 medium sized carrots)
  • 75g crushed pecans (original recipe calls for walnuts, but I am allergic, and I like pecans better anyway)

Preheat oven to 180c, and line cupcake tins. Beat the butter, sugar and nutmeg until pale and creamy. Add eggs, one at a time until well combined. Stir in self-raising flour until well combined, and then stir in the buttermilk until well combined, and then the plain flour until well combined. Stir in the carrot and the nuts. Spoon batter into cupcake cases, and bake for approximately 25 minutes, or until a skewer is inserted, and comes out clean. Leave in tins to cool for 5 minutes, and then turn out onto wire rack.

Chocolate Soil:

I really love this recipe. It’s so clever – I never even thought of this combination actually working. The recipe is from The Lone Baker, and I would really recommend you try it, especially if you are familiar with making sugar syrups. Chocolate soil is so versatile, and could be used for a variety of novelty cakes and desserts.

  • 100g caster (white) sugar
  • 75g 70% dark chocolate, chopped (ensure you use dark chocolate, because you need that little bit of bitterness when combined with all that sugar!)
  • – 1 tsp ground cinnamon

Line an oven tray with non-stick baking paper. Place sugar with 2 tbs cold water in a small-medium saucepan, and heat on low-medium until the sugar dissolves, and starts to go slightly yellow around the edges – this can take a while, it took me about  8 minutes to get to this point. Once the sugar begins to go yellow, take it straight off the heat and quickly whisk in the chocolate and cinnamon with a balloon whisk. The consistency of soil will appear very quickly, and some of the mixture will stick to the sides of the pan. You can just scrape this off with a butter knife. Pour soil out onto prepared oven tray.

Soil

Cream Cheese Icing: (see Parisian Red Velvet Cupcakes)

  • 225g butter, chopped and softened, not melted
  • 340g cream cheese, slightly softened
  • 1 tsp vanilla extract/paste
  • 2 cups icing (confectioner’s) sugar
  • Orange colouring gel/liquid

Beat butter, cream cheese and vanilla together until pale and creamy, approximately 3 minutes. Gradually add the icing sugar. I use 2 cups, as I think that is sweet enough, but you can add more or less if you want to. Place 5 tablespoons of icing in a separate bowl, and colour with orange colouring gel/liquid.

004

Assembly:

With a small sharp knife, carefully carve out a small circle in the top of the cupcakes, leaving a hole to pipe in the carrots. Place the icing in a piping bag fitted with a wide round nozzle, and pipe circles around the hole made in the cupcake. Dip iced cake in the chocolate soil. You can add more soil to the cupcake with your hands if dipping it doesn’t cover the icing enough. Once all the cupcakes have soil on them, place the orange icing in a piping bag fitted with a small round nozzle. Pipe ‘carrots’ into the holes in the cupcakes, piping up so that the icing is approximately 1-2cm above the top of the cupcake. For the tops of the carrots, I used the green part of a sour strap, cutting them with scissors, with an incision of the middle of the strap. Place it in the carrot, far enough that it will not fall over.

007

You can find my previous Easter posts here. Happy Baking!


St. Patrick’s Day Rainbow Cupcakes

Happy (belated) St. Patrick’s Day to you all, and top of the morning to ya! 😉 I have seen these super cute cupcakes many times on Pinterest, so I thought it was time to give them a go. They’re so adorable 🙂

000_0001

I used my trusted vanilla cupcake recipe for these, and once again, they worked a treat as always. To get the rainbow effect throughout your cake, you just need to divide your batter into separate bowls, colour them, and spoon them separately into the cupcake cases before baking.

 Cakes

I also loved the sour strap rainbow. As cute as it looked, it also gave the cupcake a nice sour tang and cut through the buttercream. Deeeeeeelicious.

000_0005

These little gems are really easy to make, too, and would be fun for kids to have a go at. You obviously don’t have to colour the batter, either. And you don’t have to pipe grass on the cupcakes, which I discovered is quite time consuming to get right!

IG

Happy Baking, Guinness drinking and potato eating! Hope you all have a great weekend 🙂

White Chocolate and Maple Macadamia Baked Cheesecake with Candied Bacon

Happy Birthday to me! I decided to make myself a cake resembling a pizza/cheese and bacon roll this year. Although, it was not my first intention, I’m quite happy with how it looks, it’s a little rustic, not the prettiest, but it tastes good 😉 I was very excited about this cake, as it was something I had in my mind for a while, and I thought, what better occasion to make it than my own birthday! I am a very big fan of baked cheesecakes, and I have made a few in my time, but the only thing that puts me off baking them more often is that they are time consuming, and soooo expensive. Especially when you put a big packet of macadamias in it, and real maple syrup, which costs a small fortune on its own. Nonetheless, it was very delicious.

cheesecake

I have used this recipe before to make a raspberry and white chocolate cheesecake, and it’s really great. You can play around with flavours, too, which is always good. Aside from the cheesecake itself, I kind of made the other bits up in my head, which is a sure fire sign of a great recipe!

cheesecake1

Baked Cheesecake: (adapted from Taste.com.au)

  • Melted butter, to grease tin
  • 250g plain, sweet biscuits (I used Arnott’s plain Teddy Bears)
  • 100g hazelnut meal
  • 150g butter, melted
  • 3 x 250g cream cheese, at room temperature
  • 2/3 cup caster (white) sugar
  • 1 tsp vanilla bean paste/vanilla extract
  • 3 eggs
  • 250g block good quality white chocolate, chopped
  • 250g macadamias, quartered
  • 1/4 cup real maple syrup
  • 1/3 cup real maple syrup
  • 1 cup streaky bacon, chopped into rough 1cm pieces

Grease 22cm springform baking tin with butter. Use a food processor to crush biscuits until they resemble fine crumbs. Add the hazelnut meal and melted butter and process until all well combined. Place mixture into prepared tin, and spread evenly. You can use a straight sided glass to evenly spread the base mixture evenly around tin. Cover with cling wrap and place in refrigerator for 30 minutes. If you are not using base straight away, just make sure you take it out 30-40 minutes prior to baking.

Preheat oven to 160c. Beat cream cheese, sugar and vanilla together until well combined and smooth. Add the eggs, one at a time, and mix until each is well incorporated. Using a wooden spoon, gently stir in the white chocolate, macadamias and 1/4 cup maple syrup. Pour mixture into prepared tin, and bake for 1 hour, or until just set in the centre. For me, 1 hour was perfect, but you can wobble the tin a little to test if the cake is cooked throughout. For 2 hours, leave the cheesecake in the oven, with the door ajar. I just a wooden spoon to keep the door open. This will prevent the top of the cheesecake from cracking.

Place bacon and 1/3 cup maple syrup in a bowl together and mix until well coated. Spread evenly on an oven tray lined with non-stick baking paper, and bake for approximately 20 minutes on 180c, or until bacon is crispy and sticky. Let bacon cool on tray, then spread across the top of the cheesecake. If not serving the cheesecake straight away, ensure it is stored in the rerigerator, and brought down to room temperature to eat. If the cake is still cold, it is a nightmare to cut – I made this mistake!

cheesecake4

One of my favourite parts of this cake was the candied bacon. People often balk at the idea, but it really works well and the maple/bacon combination is becoming quite popular. You can see the recipe for my Maple Bacon Macarons here, which I posted a couple of years ago. They are just as yummy! Happy Baking 🙂

cheesecake5

Lavender and Blueberry Macarons

I came across this flavour combination flicking through Zumbo’s ‘Zumbarons’ book, and at first, I wasn’t really sold. I can’t say I’ve ever really been a fan of the smell of lavender, and the thought of eating it, ergh. However, I first thought the same thing about the Vegemite Macarons, another genius brainchild of Zumbo’s, and I really loved them. So, I thought I would give them a go, and it turns out, they aren’t so bad after all!

Lavender and Blueberry Macarons

Zumbo’s ganache recipe calls for white chocolate, however, I boldly decided to change things up a little! I decided to make a buttercream instead of a ganache, I’m not entirely sure why I decided to do this, but it worked, I think. I put as little sugar as possible into the blueberry jam, to counteract the sweetness of the buttercream, and with  little bit of salt with the butter, it was nice. I literally used like three drops of lavender oil because I was so worried it would be too strong. The idea of eating flowers doesn’t really excite me. Three drops was definitely enough. Enough to get the aroma of the lavender, with the hit of blueberry and sweetness of the macaron shell. Would I make them again? Maybe, if they were requested, but other than that, probably not. It would be interesting to taste the white chocolate ganache version, though. And, yay! For awesome shells.

000_0004

Macarons:

This recipe is Adriano Zumbo’s, and was published a couple of years ago in the Herald Sun. You will definitely need kitchen scales to make macarons.

  • 135g almond meal
  • 135g icing sugar
  • 125g caster sugar
  • 45g egg whites
  • 50g egg whites
  • 40g water
  • 1/4 tsp colouring gel, violet
  • Food colouring liquid, blue

Spray four oven trays with cooking oil spray around the edges, and line with baking paper and set aside. Place almond meal and icing sugar in a large bowl, and sift together 3 times. Set aside, along with the 45g egg whites. Put 50g egg whites in a separate bowl. Heat caster sugar and water in a small saucepan, over a low-medium heat, until the sugar completely dissolves (if it slightly burns my tongue, it’s done!). If you do not want to burn your tongue, Zumbo suggests investing in a candy thermometer and heating the syrup until it reaches 118 degrees C (244 degrees F). If the syrup becomes thick and powdery in appearance, you will need to start again. This is because the sugar has been heated too much, too quickly, and instead of dissolving, it has cooked.

Begin beating the 50g egg whites with one hand, and with the other, stream the hot sugar syrup down the side of the bowl to create an italian meringue. Beat until stiff peaks form, the meringue should be thick and very glossy. If you want to add flavouring/colouring, now’s your moment. So add the colouring now. Just lightly beat them into the meringue. Pour meringue into the almond meal, icing sugar and 45g egg whites mixture and mix roughly to combine. When combined, fold mixture together (one single stroke) until there are no air bubbles left. Make a spread across the top of the mixture, and it should disappear in about 20 seconds. Spoon mixture into a piping bag fitted with a round nozzle. (If you don’t have a piping bag set, most supermarkets sell plastic ones, they are Multix brand, in an orange box and contain 5 piping bags with a few different nozzles, plus they’re only about $3. You should be able to find them in the baking aisle). Lock the bag by spinning the top around 4 times. Pipe 3-4cm rounds on the oven trays prepared earlier. Tap the bottom of the trays on the kitchen bench and let them sit for about half an hour, or until mixture is dry to the touch. Meanwhile, preheat the oven to 145c (135c fan forced).

Place in oven and bake for 16-20 minutes. Check macarons at 16 minutes, and to test if they are cooked, pull a macaron off the baking paper. If it is stuck, keep cooking and checking regularly. Cool on trays for 5 minutes, then peel off and place on a wire rack. The mixture should make about 12 -15 large macarons, and about 25 smaller macarons.

Macarons

Place all of the macaron shells on wire racks. My needed two. Place paper towel underneath, so your kitchen bench does not come into contact with the blue colouring. Place approximately 15 drops of the blue liquid colouring in small dish. Gently dip a pastry brush in the colouring and lightly flick the macaron shells, resulting in the blue dots like my shells have. Leave shells to dry – this won’t take long.

Splashed


Macarons keep really well (about 5 days in the fridge) and some say that the longer they are refrigerated, the more the flavour is likely to develop. Macarons taste best when they are stored in the fridge, then brought down to room temperature to eat.

000_0006

Lavender Buttercream:

  • 100g salted butter, softened, not melted
  • 3 drops lavender oil (edible, of course – FYI, I bought mine from http://www.bakingpleasures.com.au)
  • 1 cup icing (confectioner’s) sugar

Beat the butter until pale and creamy (about 5 minutes). Gradually add the icing sugar and beat until well combined. You can add as much sugar as you like, really. It depends on how sweet you like your buttercream. Add the lavender oil – you can always add more to taste.

Blueberry Jam:

  • 1/2 cup blueberries, fresh or frozen
  • 1/4 cup caster (white, granulated) sugar
  • 2 tbs water

Place all the ingredients in a small saucepan. Heat on medium until mixture begins to boil. Turn down heat to low and simmer until thick. Pour into a bowl, and let it cool completely. If you are not using immediately, store jam in the fridge once it has cooled.

Assembly:

Pair up likely macaron shells. Place lavender buttercream in a piping bag fitted with a round nozzle. Pipe round onto one shell, and spoon a very small amount of blueberry jam on top of the buttercream. Sandwich together. Store in airtight container in the fridge. Bring down to room temperature to eat.

I really wanted some fresh lavender sprigs in my photos, but unfortunately it was not to be. I was desperately trying to find some, madly roaming my local neighbourhood at 10km/ph on the hunt for lavender! Tis’ not the season.

Happy Baking! And…please come and follow me on Instagam – @gemmaash 🙂

000_0007