When I was in Paris last year, I desperately wanted to do a cooking class, but as we were travelling for a long time on a tight budget, unfortunately, it just didn’t happen. However, I was very lucky to be going back to the city of love for a short visit this year, so there was no doubt in my mind that I would be doing a Parisian cooking class this time! I chose to do the class with La Cuisine as they had excellent reviews, and boy, am I glad I went with them! They really were fantastic. We chose to do the Market Class, where the group met at a local farmers market to choose the menu and buy the ingredients for the lunch. We then took a short stroll to the kitchen, in the hot Parisian summer sun, via the Notre Dame.


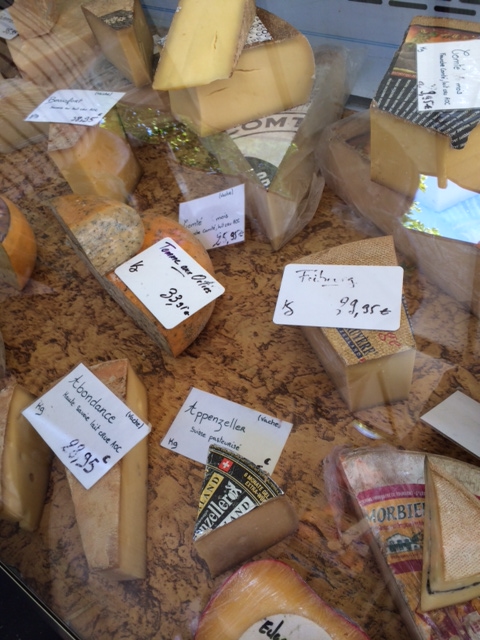
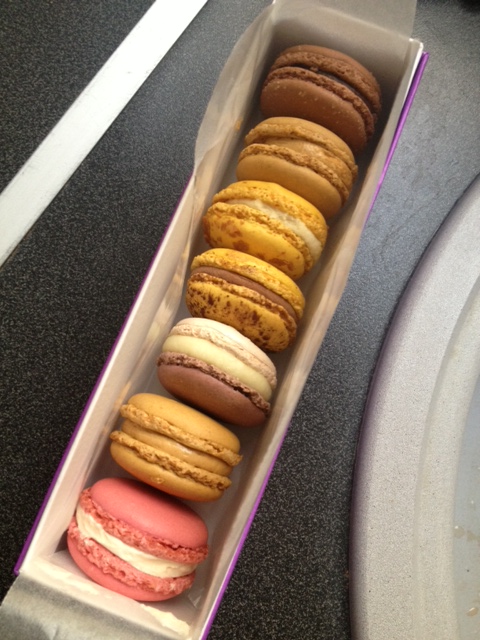
La Cuisine gave our group freedom to choose what we wanted to eat – there was no set menu. We chose sea bream for the main, and some ripe peaches and apricots for dessert, along with some beautiful cheeses, vegetables and baguettes.What I loved about the market was that our wonderful chef, Emilie, explained everything to us. She showed us what to look for when choosing fish, how to tell if fruit and vegetables are ripe, and gave us a thorough run down on different types of French cheeses and breads. One of the cheeses we had was a special cheddar type, where, in the process of making this cheese, little cheese mites (yes, little bugs!) huddle around the outside of the wheel, protecting the cheese from bacteria. Some people thought this was pretty disgusting, but I thought it was kind of cool that little bugs could help produce a delicious cheese! And delicious it was! (FYI – the mite cheese is the orangey one at the bottom).

When it was time to cook, everybody helped out and did their bit – it was certainly a team effort. Emilie showed us how to fillet a fish, which I did for the first time – it was a pretty horrible effort though, I pretty much hacked the poor thing to bits! Lucky I wasn’t the only filleting virgin. To go with the sea bream, we made a cauliflower puree, mini roasted carrots, onions and radishes and a buerre blanc sauce. This sauce was easily my favourite part of the whole lunch, and I could have drank a whole bowl of it. It was delicious – but let’s face it, anything with a truckload of butter, white wine and onions is bound to taste pretty damn good.

For dessert, we made an almond and hazelnut financier, with roasted peaches and apricots and chantilly cream. This was a really delicious dessert. The peaches and apricots were sliced up, brushed with butter, and roasted with brown sugar and rosemary, an unexpectedly delicious addition. The financier was dense and buttery, and with the chantilly cream, it was really great. I am definitely looking forward to making this again.

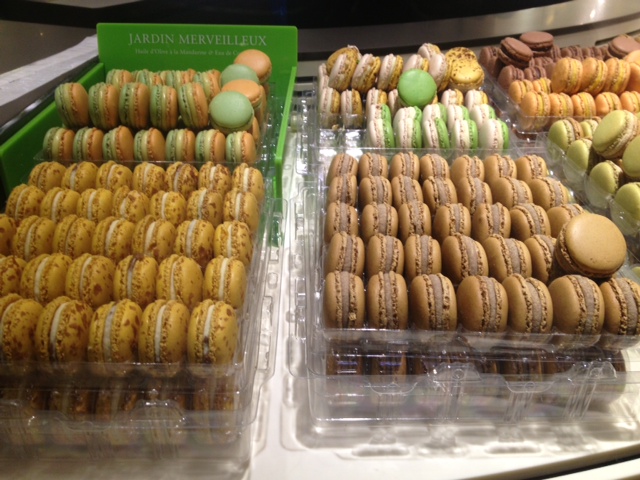
If you are going to Paris in the near future, and love food, I really recommend you check out ‘La Cuisine’. They have lots of other classes to do with pastry, bread, chicken and more. If I had the time, I would have loved to do a pastry or macaron class! Oh well, next time! Thanks to La Cuisine and Emilie, for an unforgettable day 🙂