Coconut and Lime Ombre Cake

Happy slightly belated New Year to you all! I can’t believe it is 2014, and January the 1st marked whiskitforabiscuit’s second birthday. Yay 🙂 The beginning of the year is always a bit of a baking whirlwind for me, because almost every member of my family has their birthday in January. So, here is the first of the birthday cakes:

CoconutLimeCake

I love the combination of coconut and lime. It’s really fresh and summery, which is nice when you’re in the middle of the horrible heatwave Melbourne is experience at the moment! The last thing you feel like doing is forcing down a piece of heavy mud cake down your pie hole, so this cake, I thought, was ideal.

000_0007

As you may have seen, I enjoy making layer cakes with different colours and gradients; it just makes it a bit more fun, especially when kids are around. I also decided, instead of covering and filling the cake in buttercream, I used a fresh and tangy lime curd to sandwich the layers, and whipped cream to cover the cake, with some coconut, too. Buttercream does not go down well in heat!

Layers

For the cake, I used my trust vanilla cake recipe I have used many times before (which is originally a cupcake recipe, but it works just as well for larger cakes), and just added a bunch of lime zest, lime juice and coconut. It’s so easy and it works perfectly every time, especially when adding different flavourings. I only had a couple of hours to make this cake, so the layers are not quite as even as I’d like them to be. Oh well, it still tasted pretty awesome!

000_0003

I hope you all had an amazing New Year, and that 2014 is everything you wish it to be! Happy Baking 🙂

Advertisement

A Wonderful Wizard of Oz Party!

Last Sunday, it was my little sister’s wonderful Wizard of Oz party. Well, it was more of a production actually, as our house was temporarily taken over by Oz paraphernalia and resembled quite the tornado. It was a lot of fun, and the amount of work my parents put into making the place look like it was straight out of the movie set was astronomical. As was the amount of time I spent in the kitchen! I made so many little bits and pieces I thought I would dedicate a whole blog post to it 🙂

100_0067

000_0049

100_0063

My ‘Emerald City Macarons’ – Redskin flavoured, with edible gold glitter. This flavour was SO delicious!

000_0036

100_0062

‘Yellow Bricks’ – aka Salted Caramel Rice Bubble Slice

100_0057

000_0048

100_0061

Unfortunately, I did not make these. I had never tried a cake pop before, I have heard they are very difficult to make. These ones not only look amazing, but tasted it, too. Inside were gooey, chocolatey, fudgey balls of cake. YUM!

100_0072

Rainbow lemonade for the kiddies 🙂

100_0052

The cake I made – Somewhere Over The Rainbow Layer Cake, with Yellow Brick Buttercream and a Macaron Emerald City.

100_0074

100_0075

This was the same recipe I used to create last year’s Rainbow Cake. It’s not at all difficult, it just takes a lot of time. The end result is well worth it, though. Especially when kids are involved!

100_0066

Follow the Yellow Brick Road…

Lemon Meringue Layer Cake with Macarons

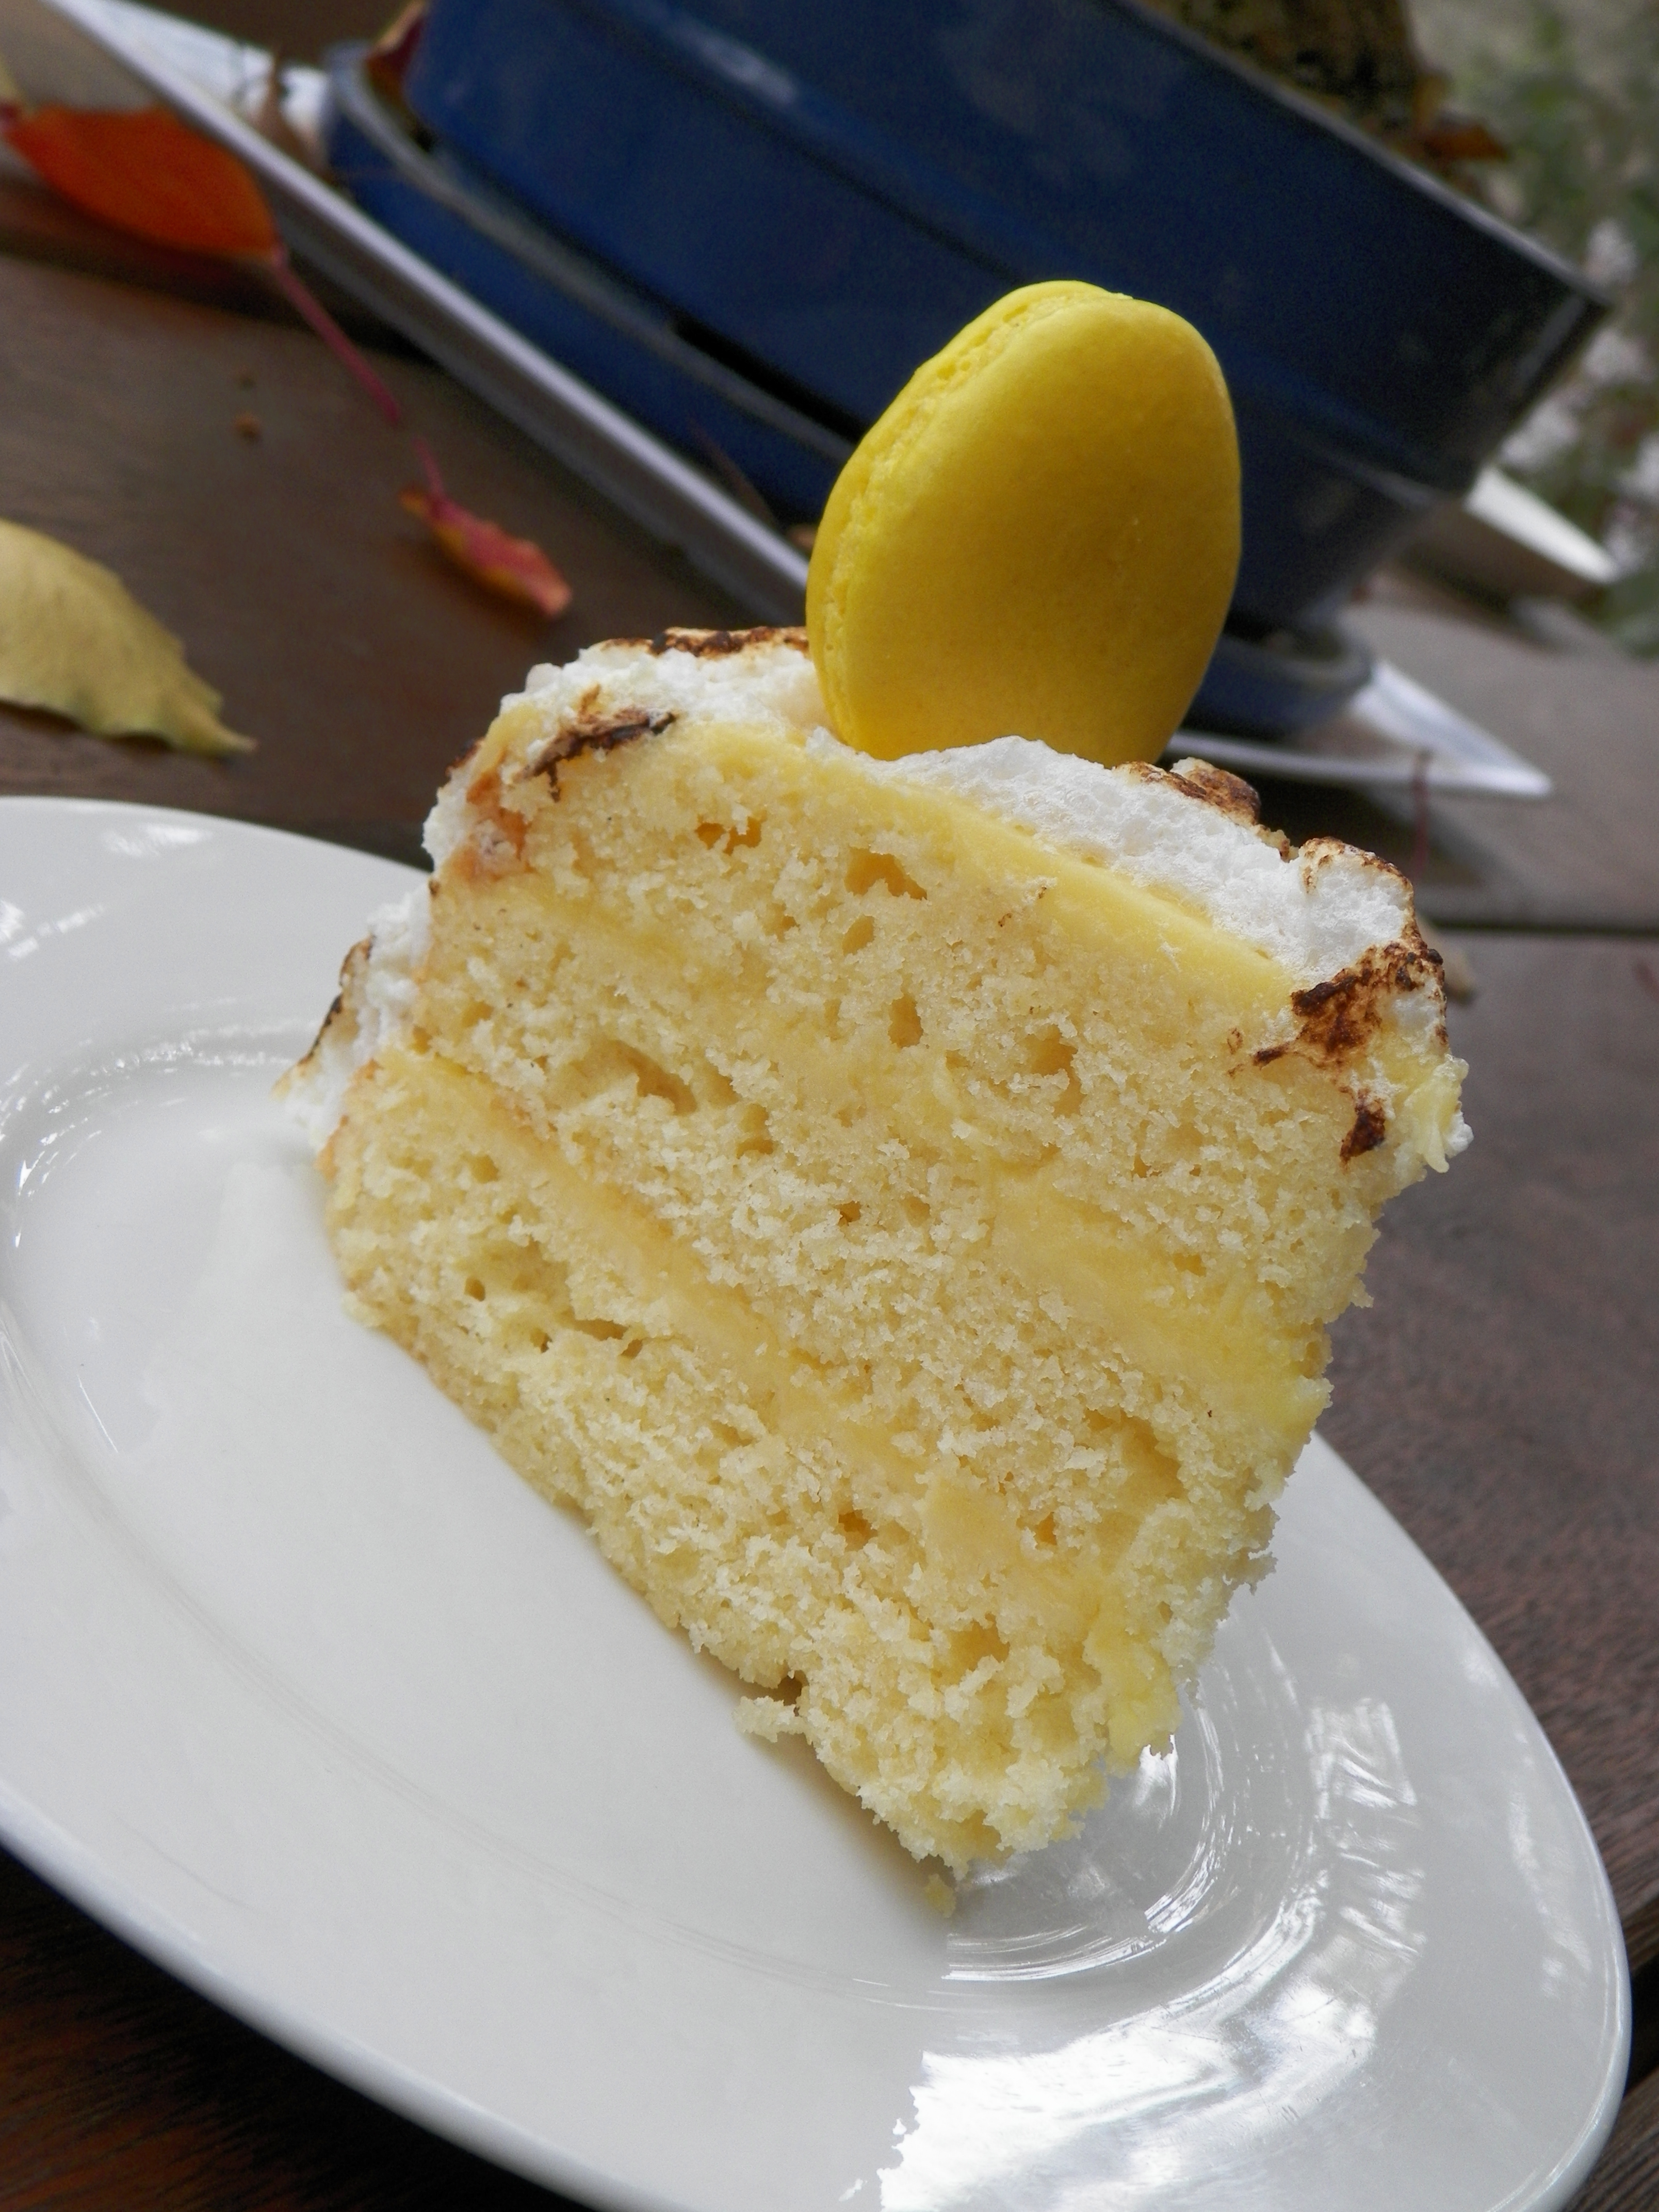
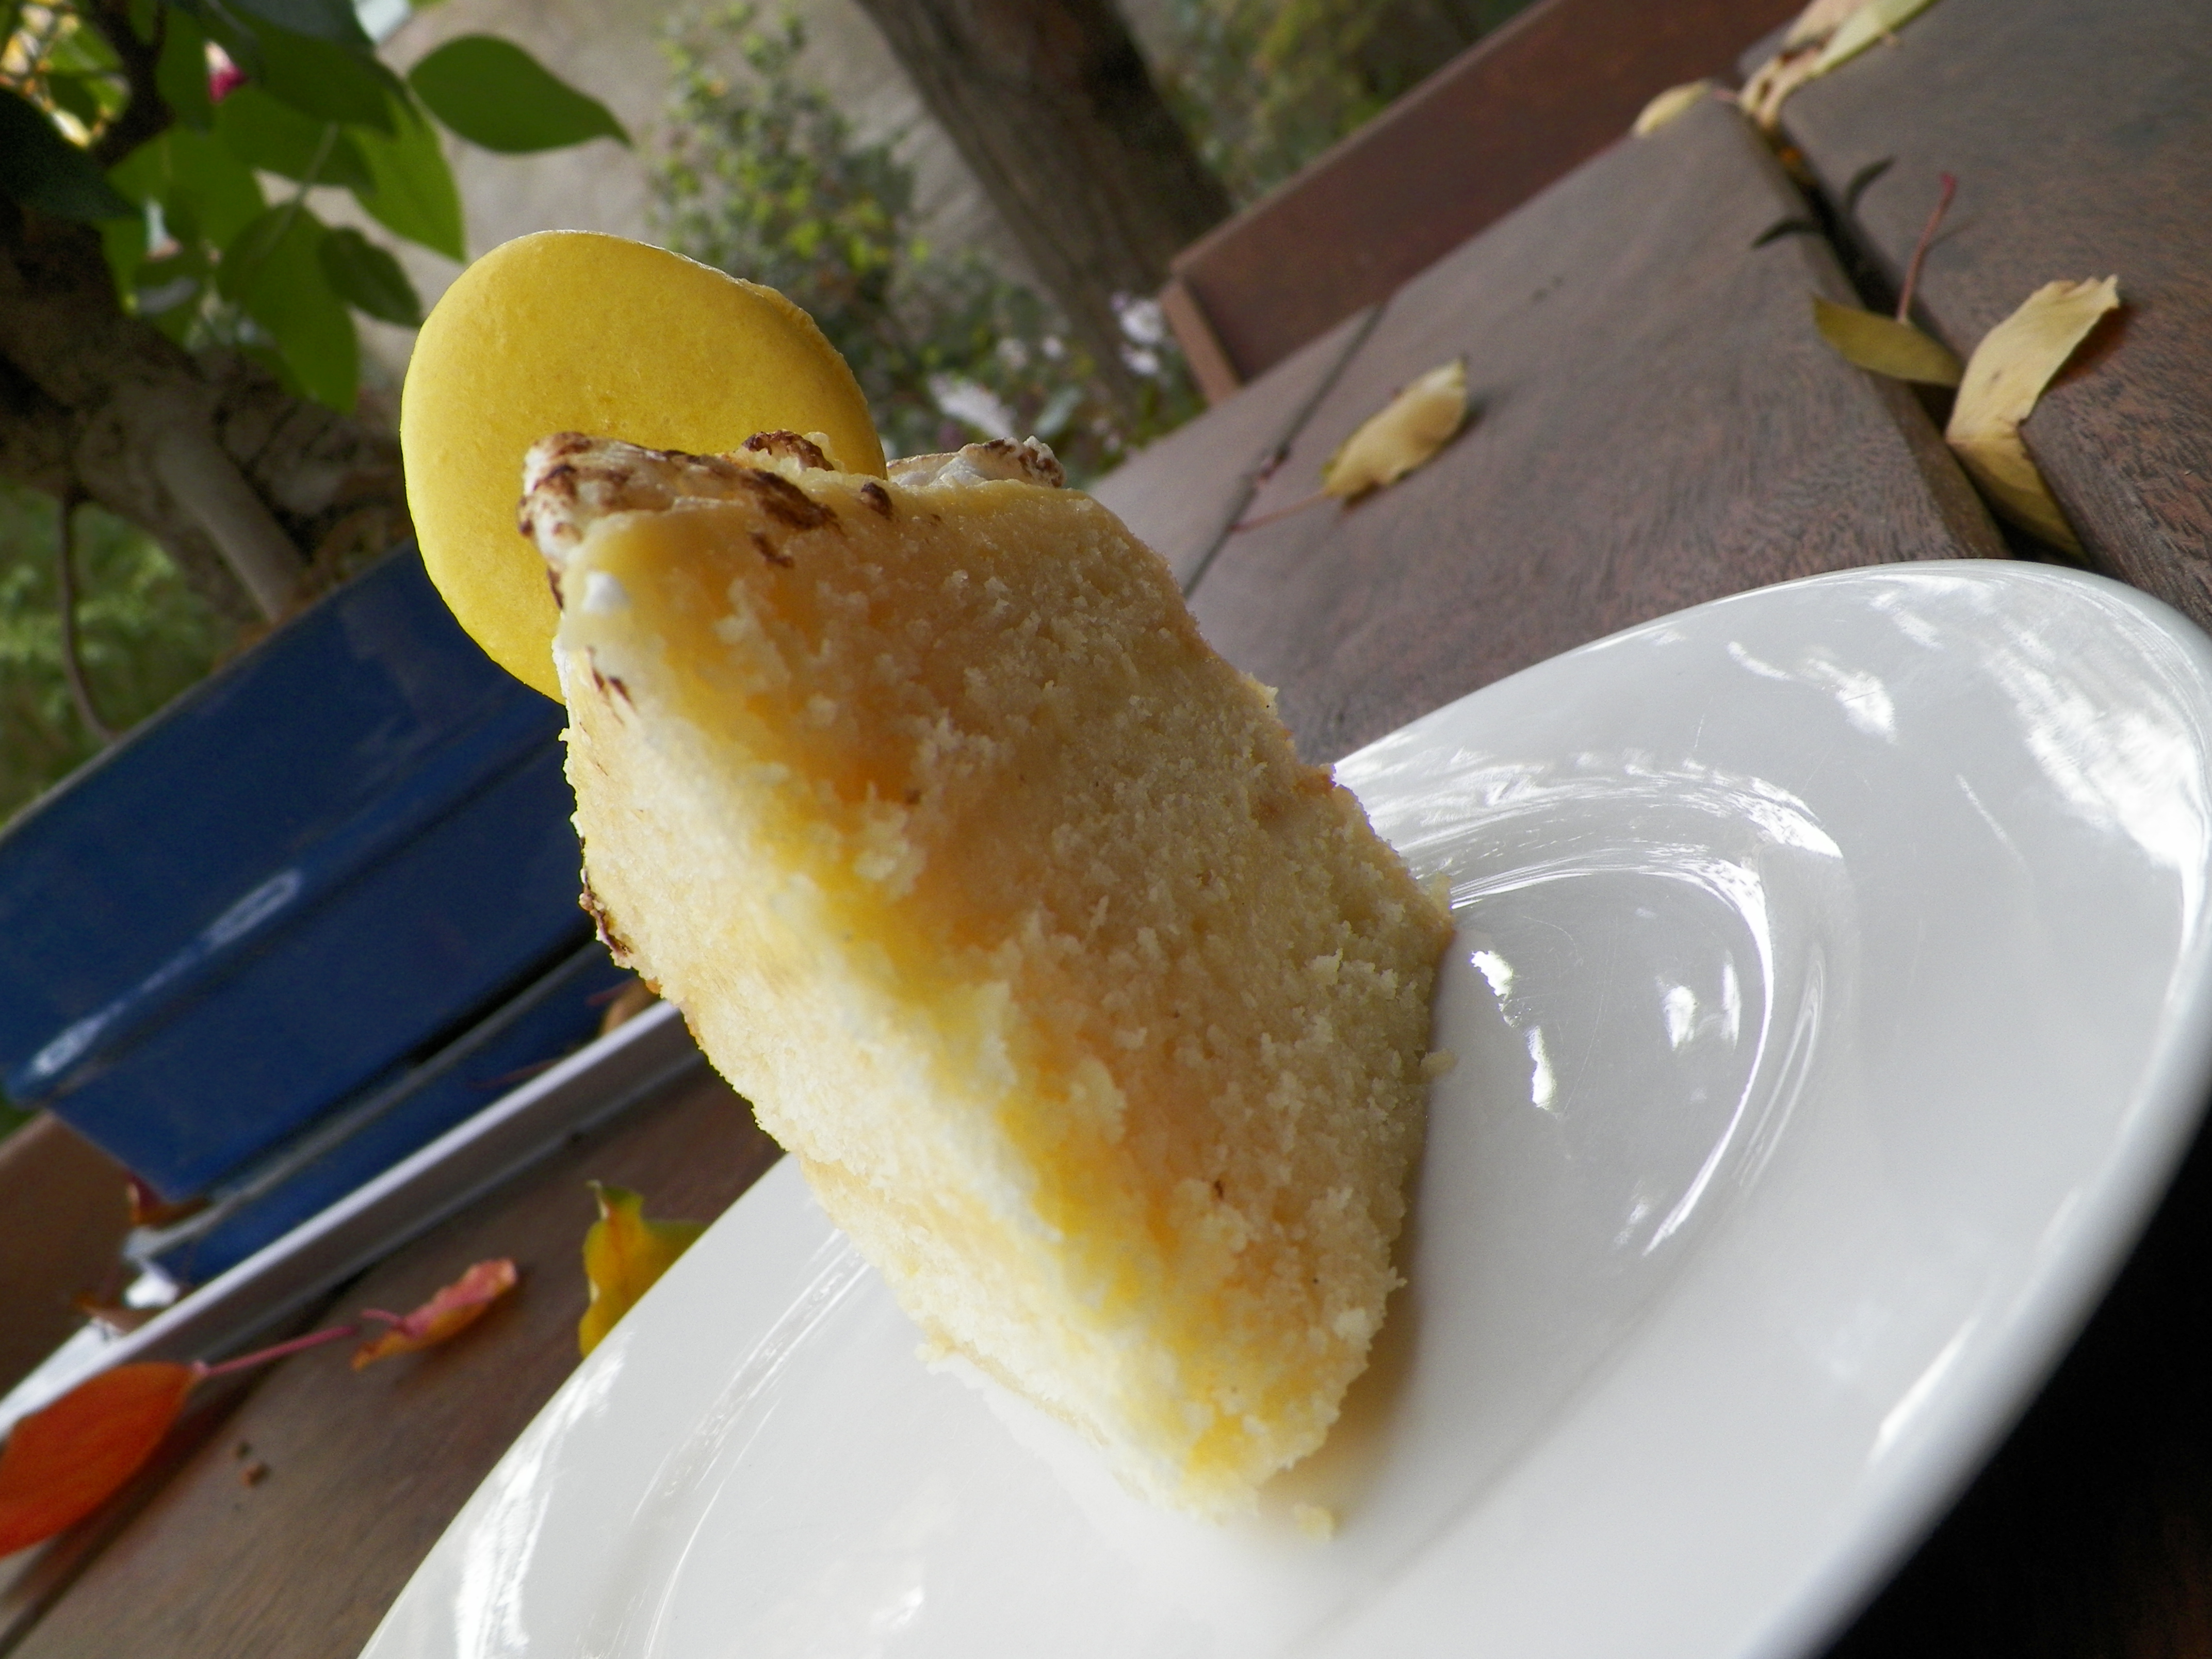
This cake was tasty, very tasty indeed. I made this cake for my boyfriend’s birthday, as he loves all things lemon and meringue – you may remember from 
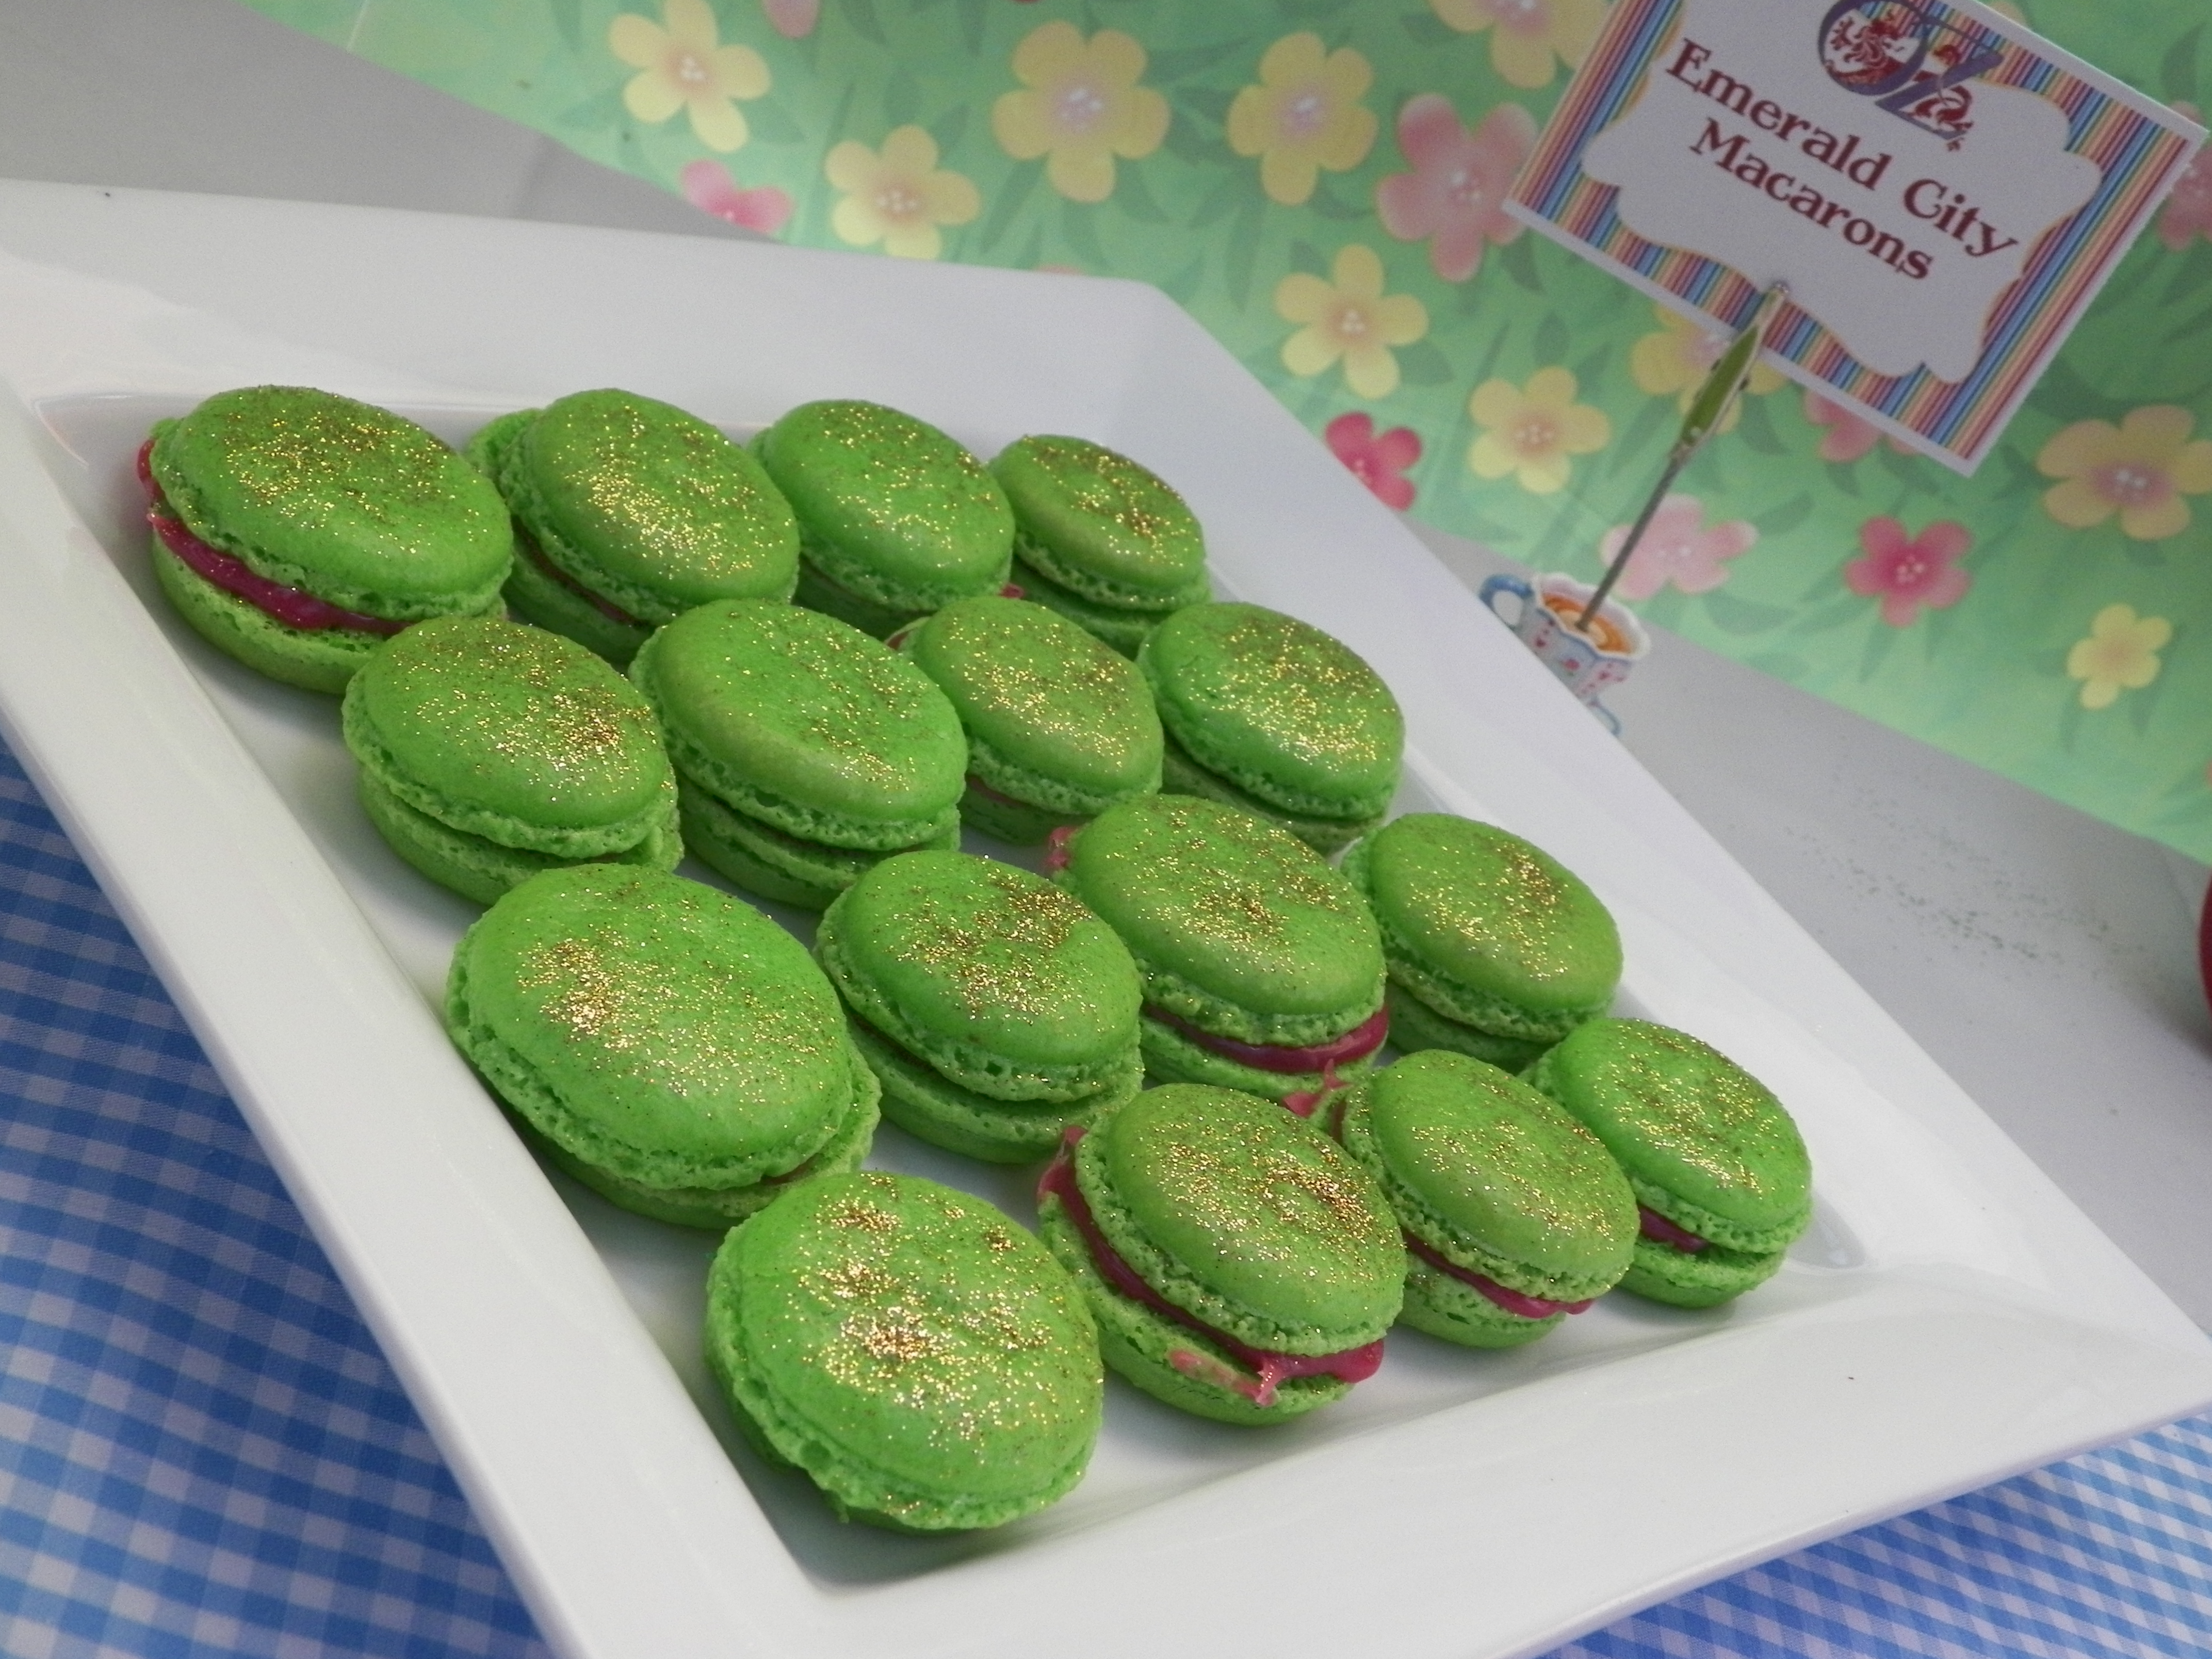
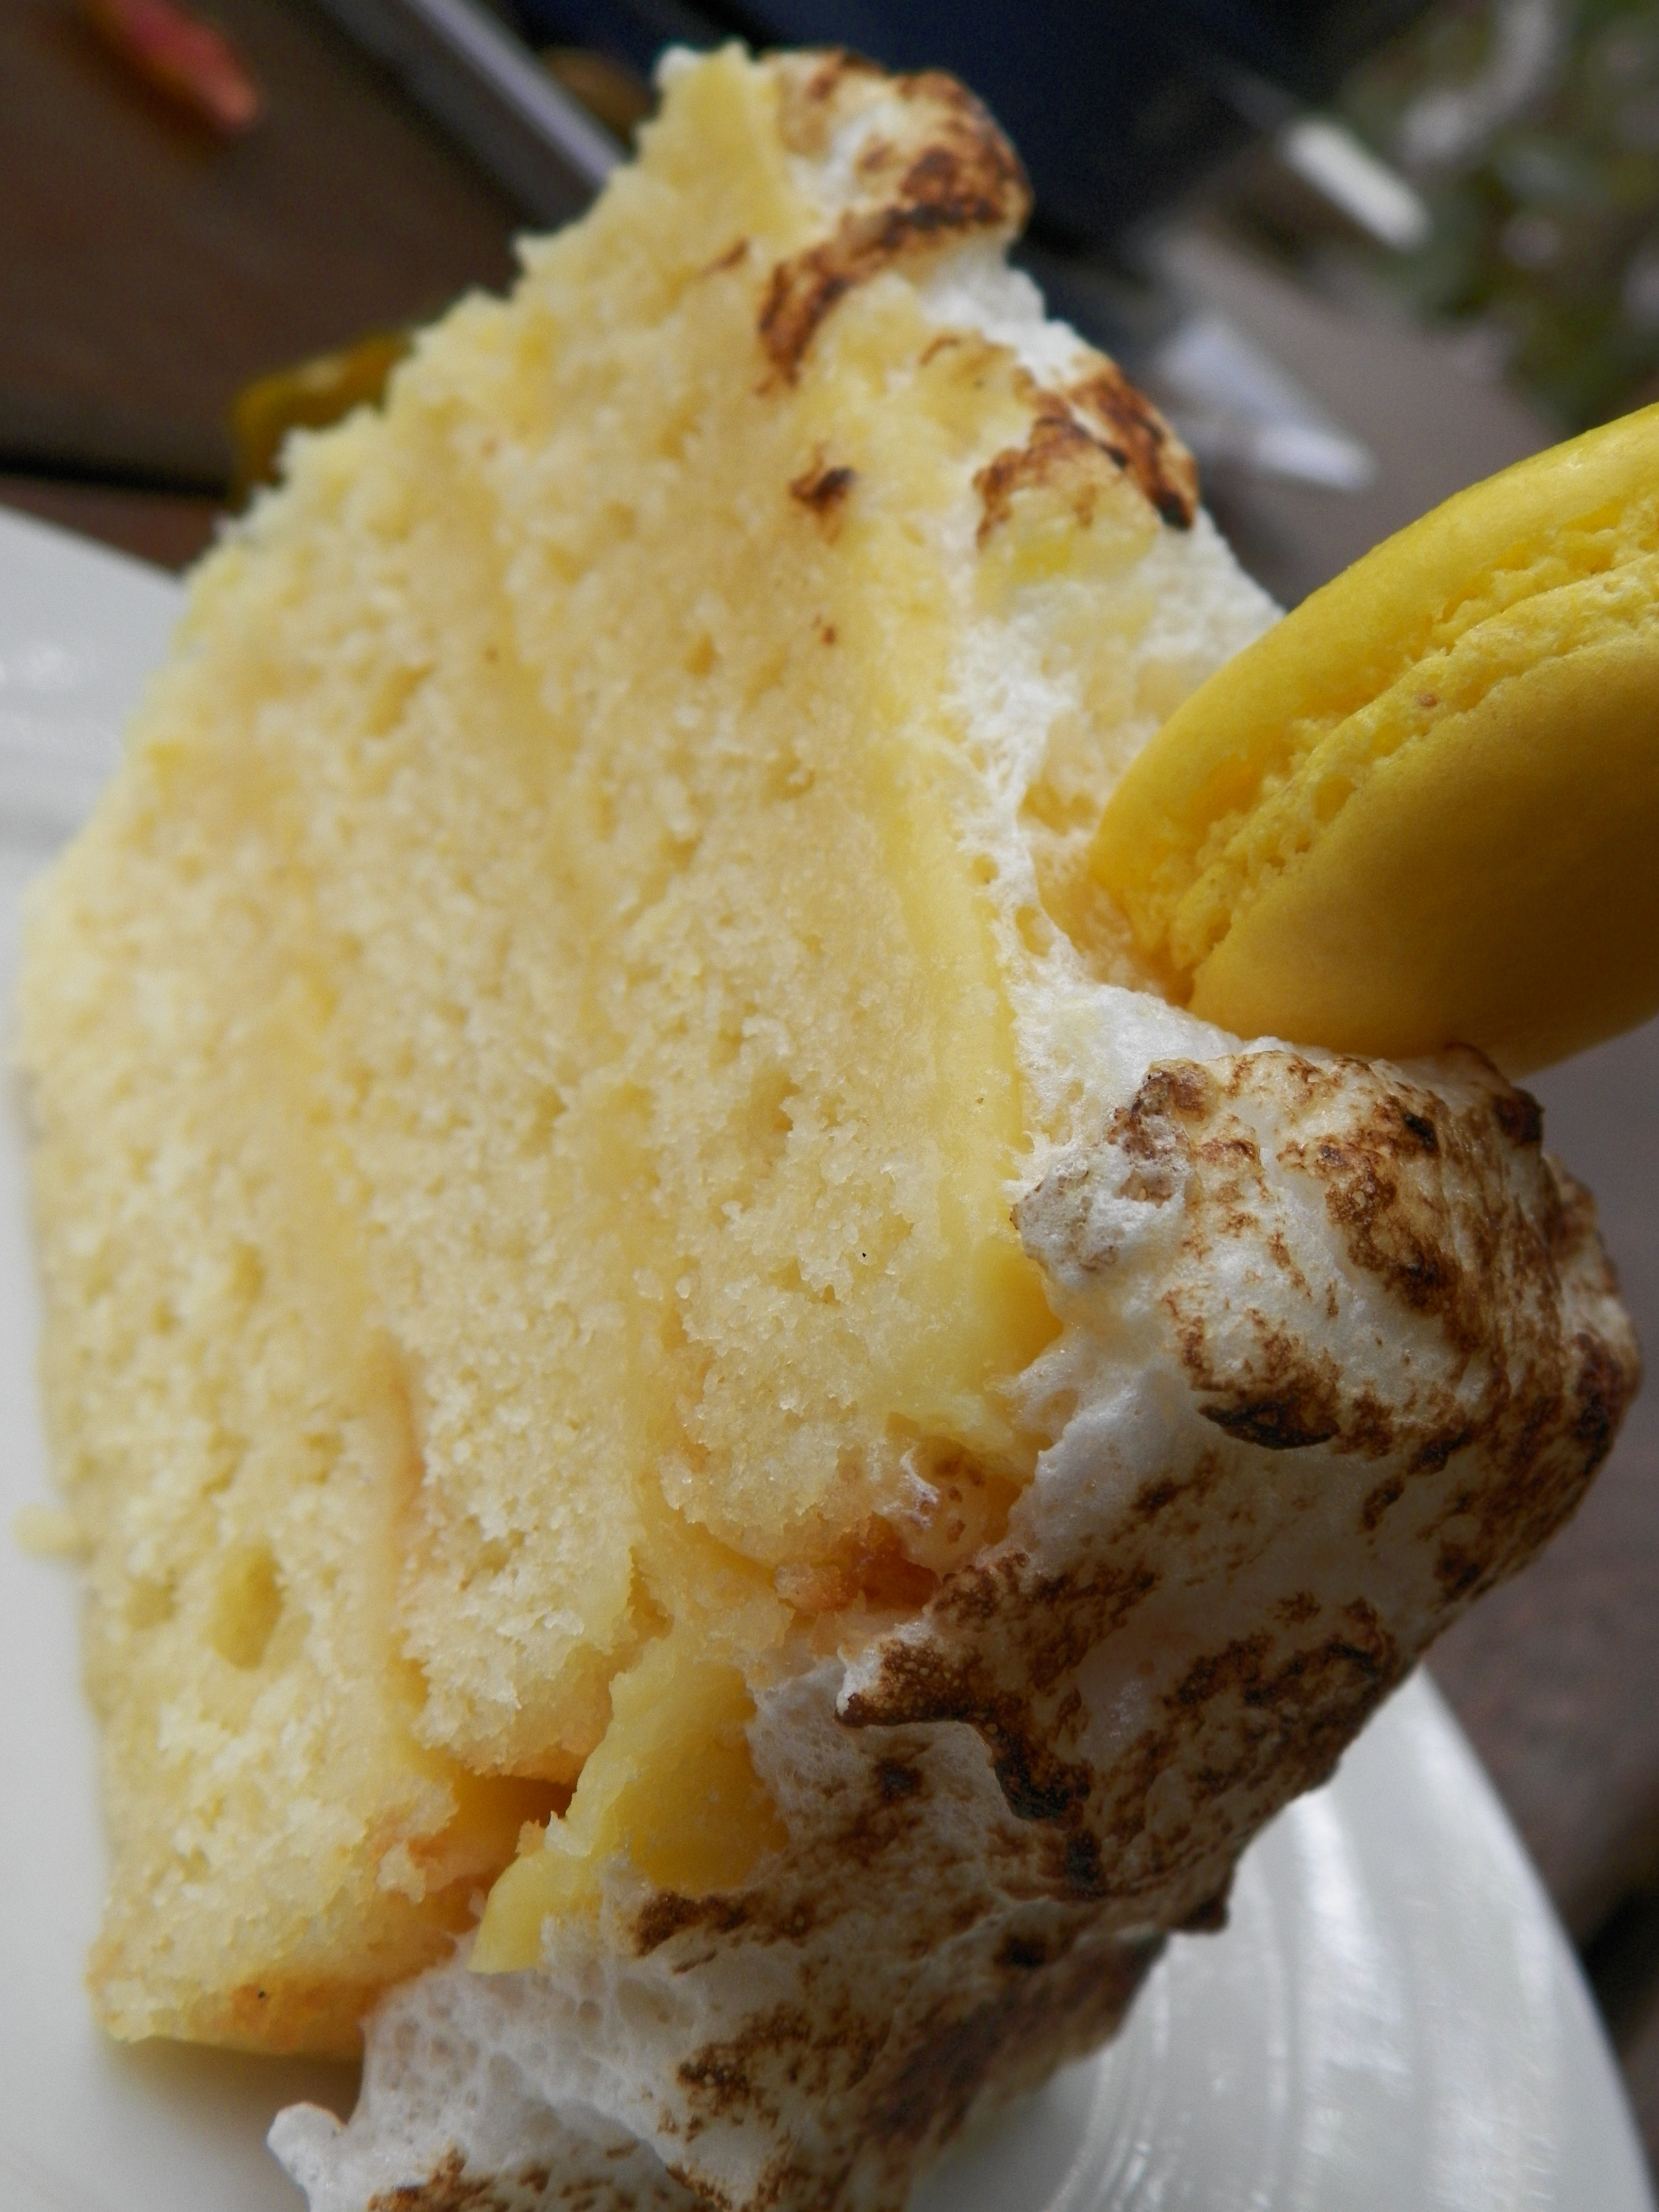
last year. I was really happy with the flavour of this cake and the lemon curd that filled it, and the macarons turned out quite well, too. I’ve been a bit lucky with macarons of late, lets hope it stays that way!
000_0002
000_0017
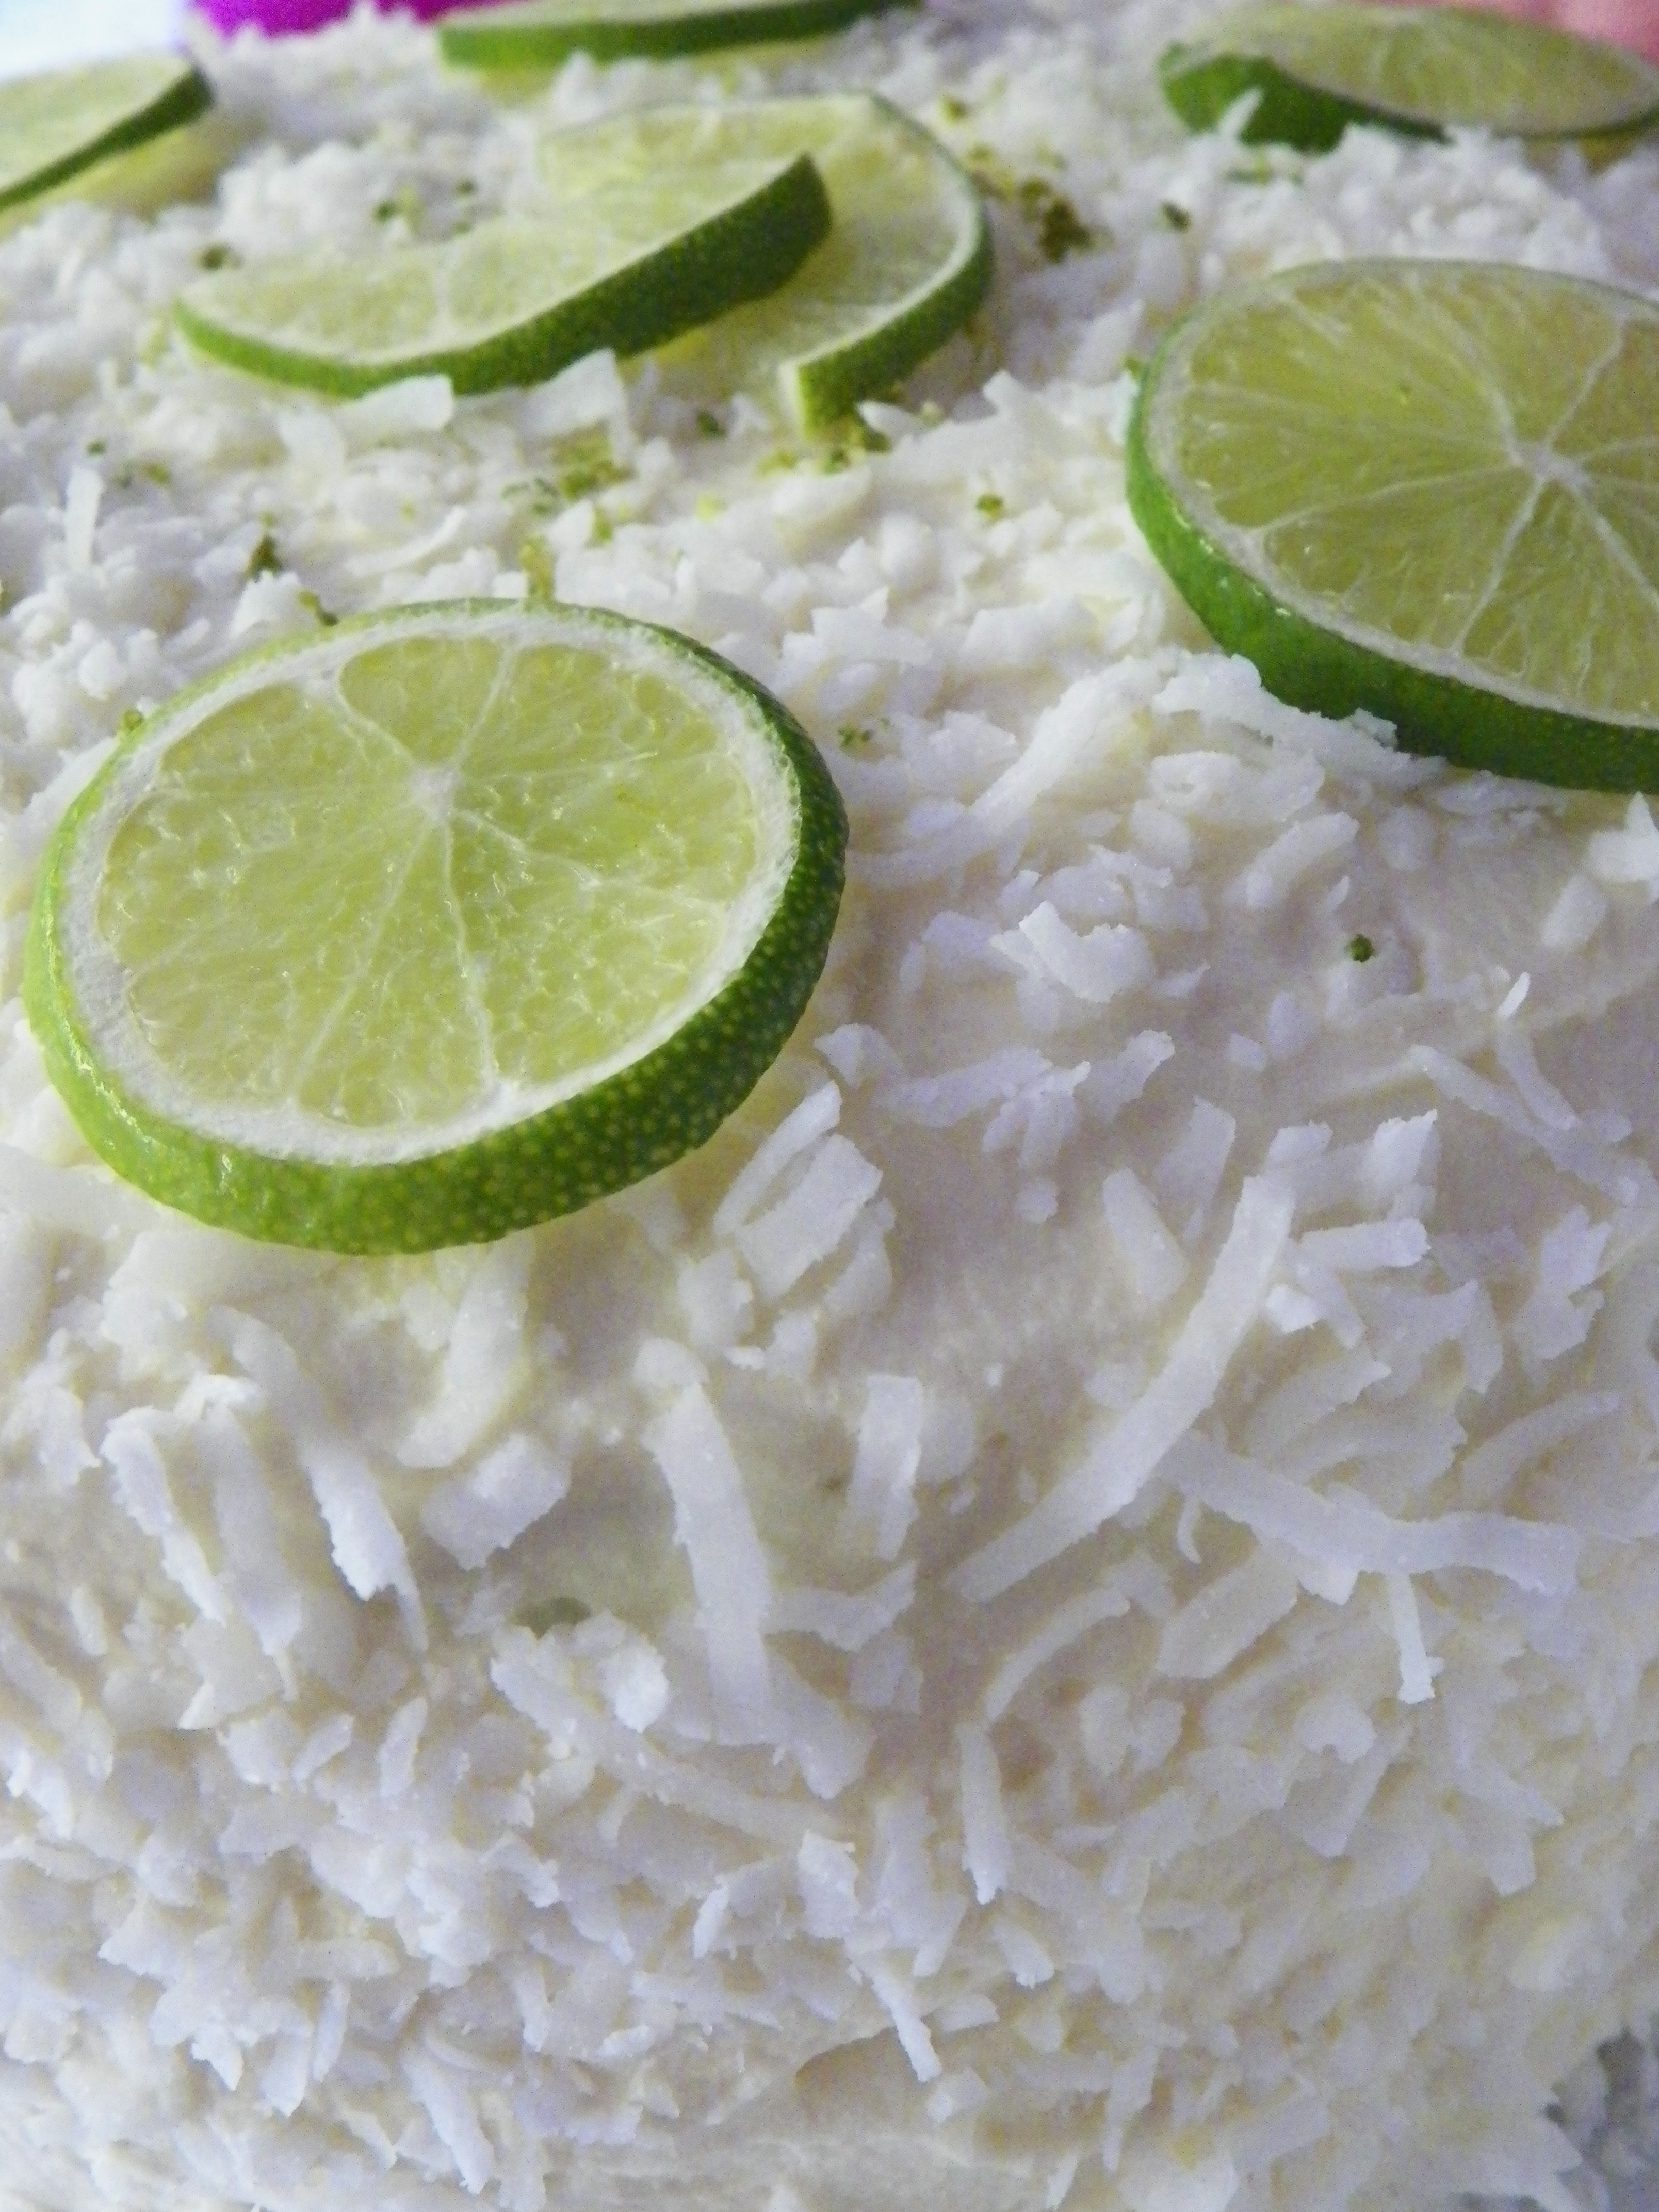
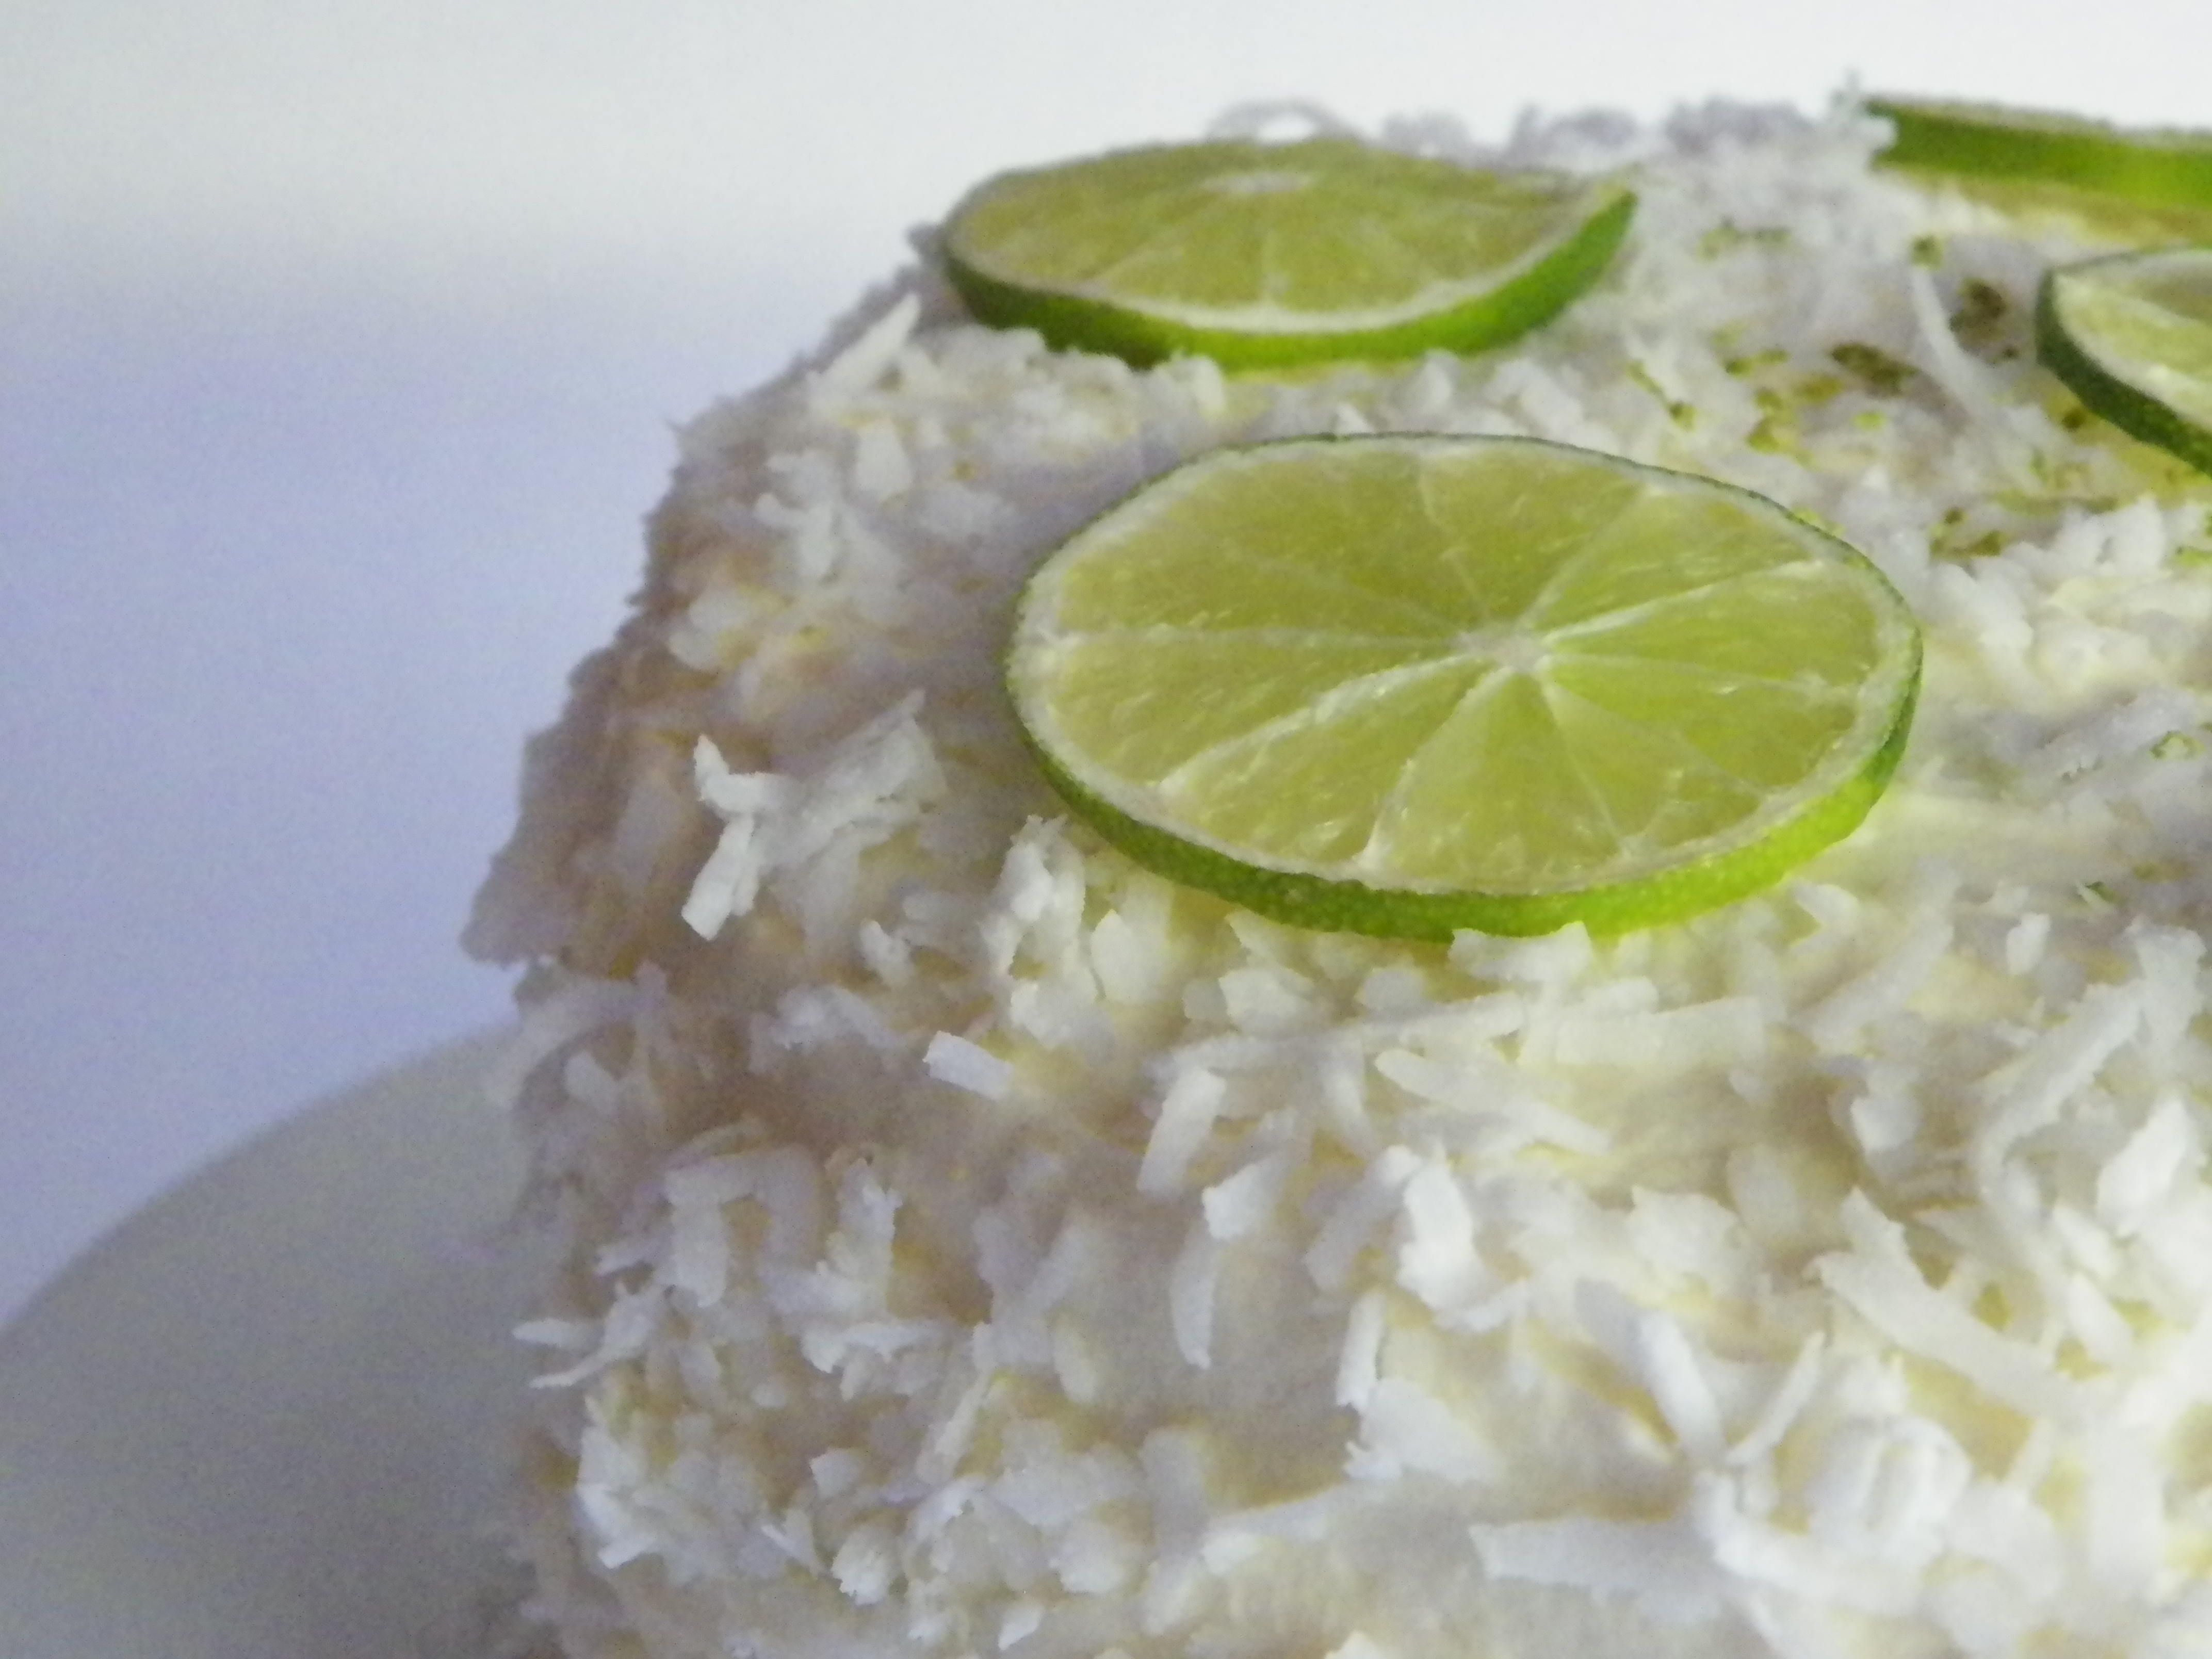
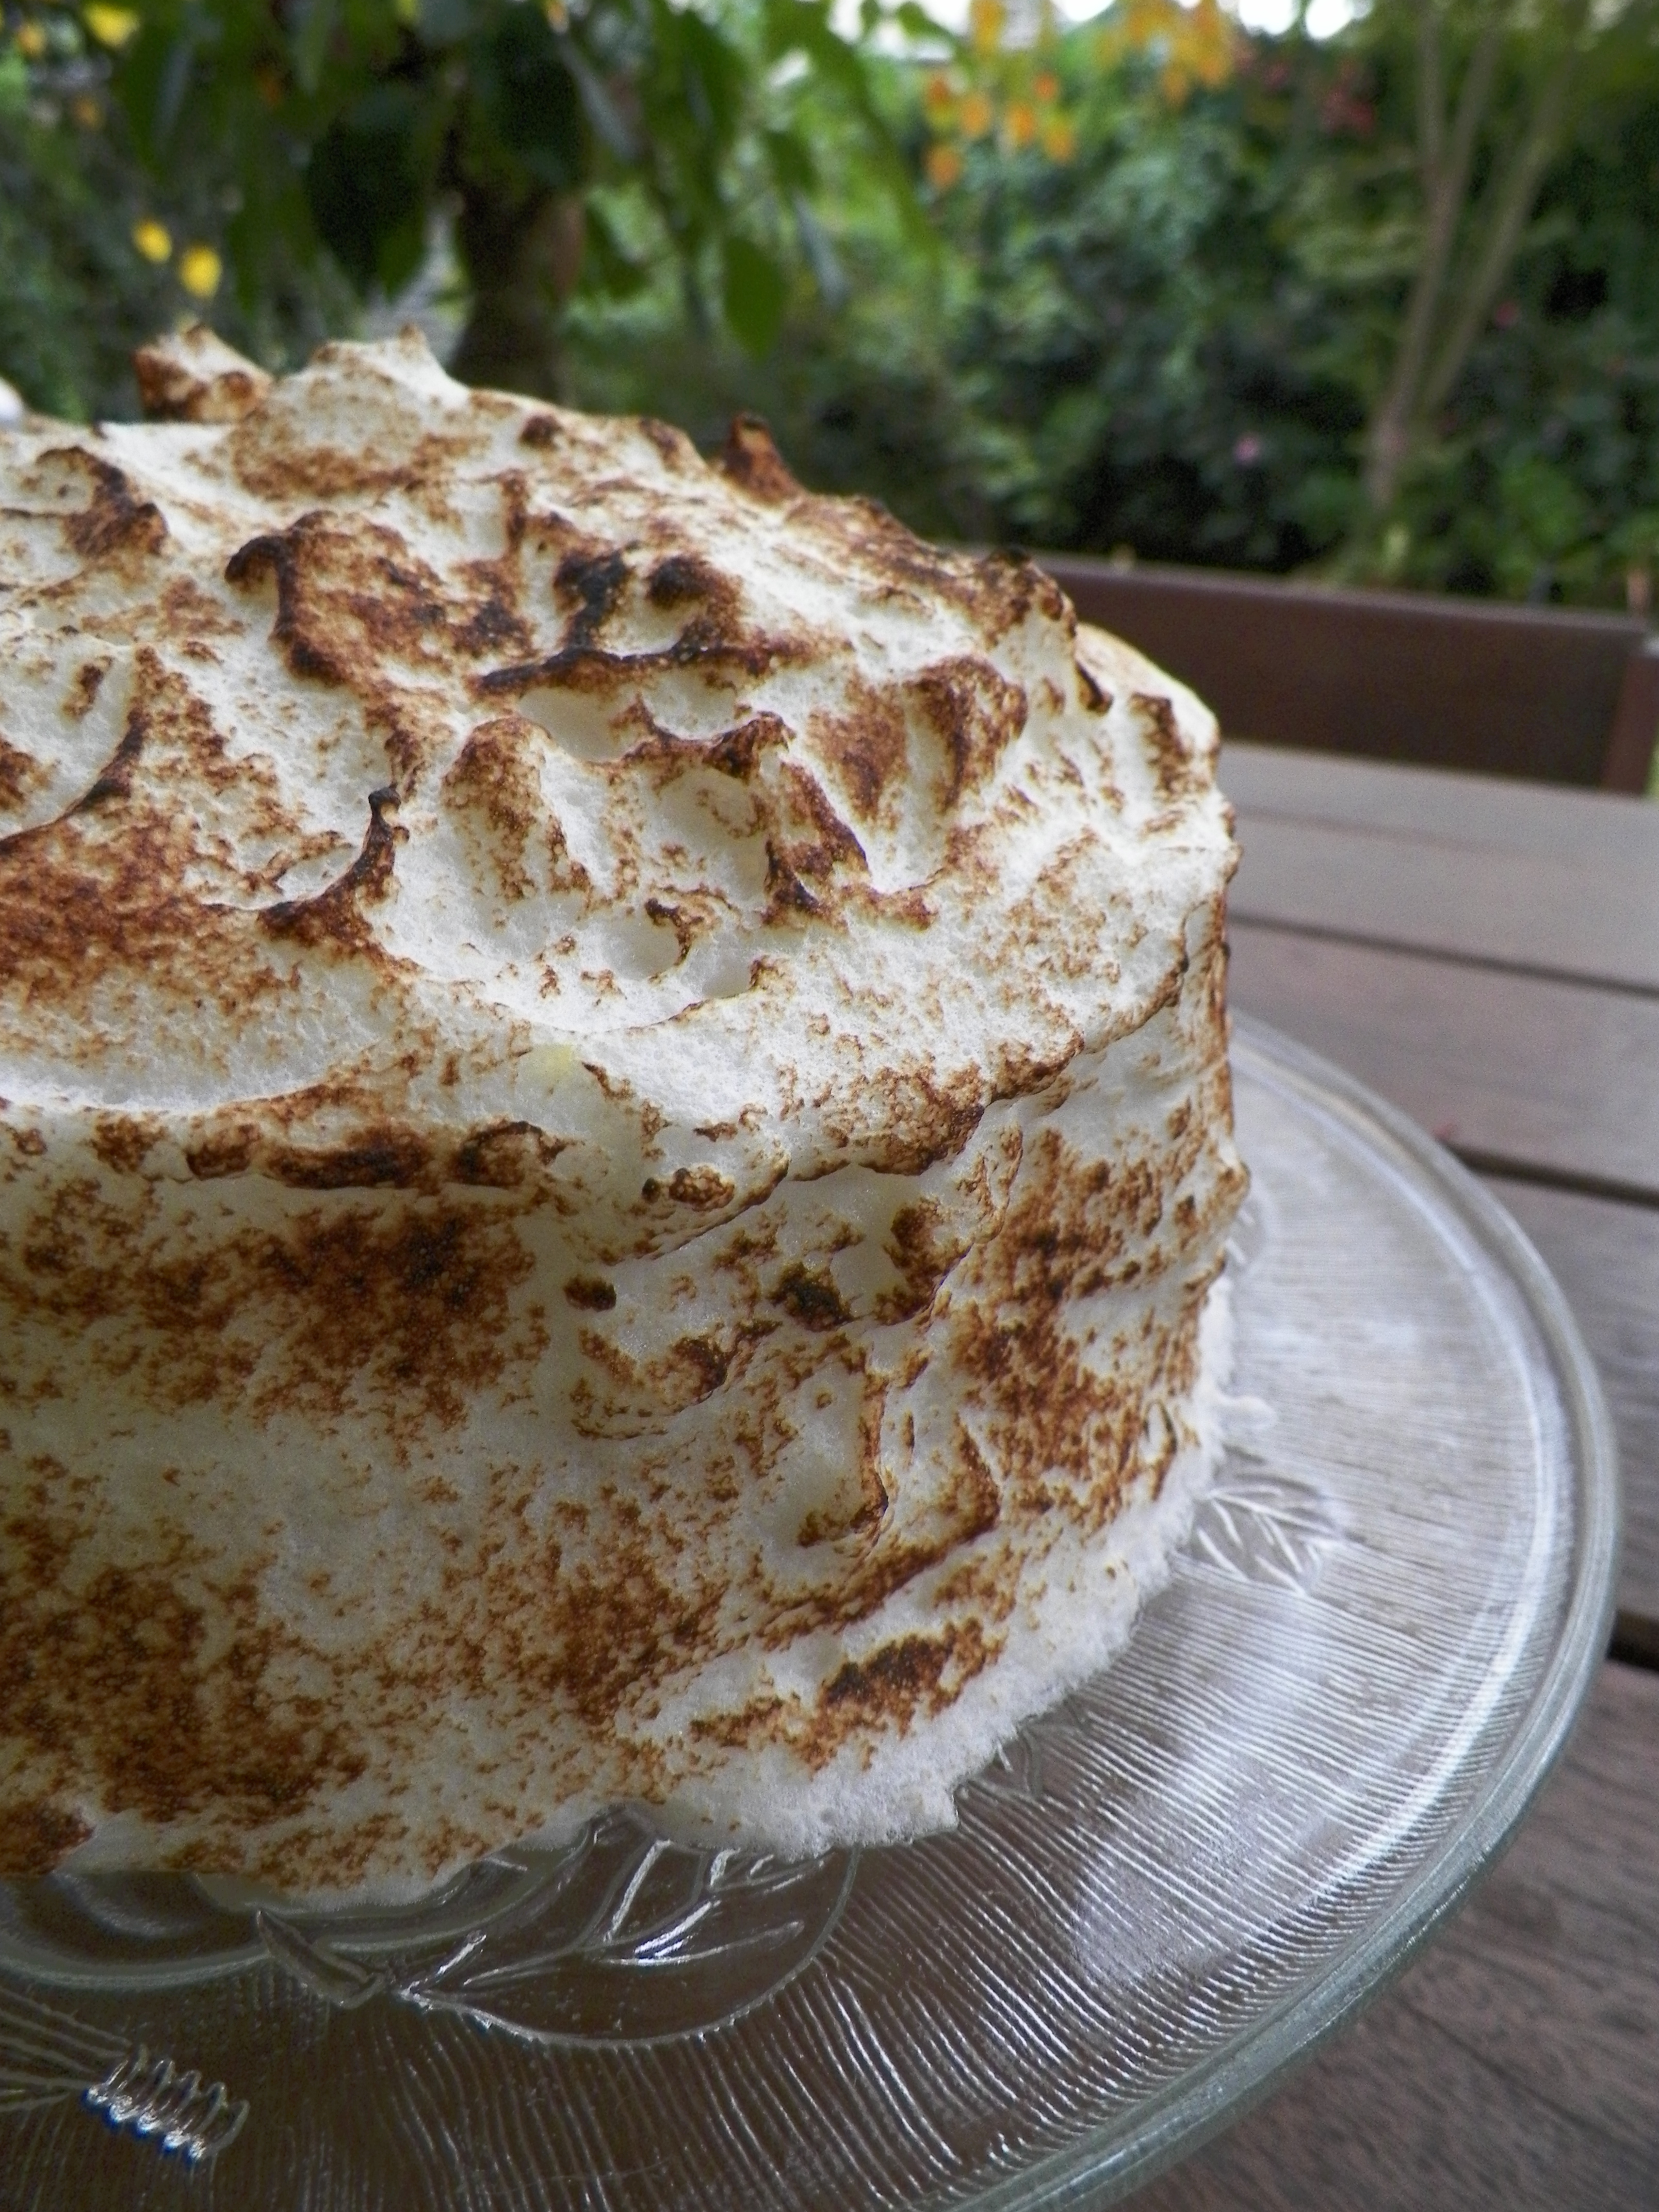
I pictured the merinuge on the outside to look a little different. It wasn’t as glossy and high as I would have liked, but I think it was because I didn’t make enough sugar syrup. However, that’s a minor detail. The part I loved most about making this cake was blowtorching it! I love watching the meringue cook and change colour, I could stand there all day and blowtroch…or maybe I just love playing with flames?! I used my usual vanilla cupcake recipe and just added a bunch of lemon juice and zest and it worked a real treat! It was moist, lemony and buttery all at the same time – yum 😉 The lemon curd recipe I used was from the ever wonderful Zumbo, and it was unsurprisingly delicious and unlike many lemon curds, it remained thick and did not leak out the sides of the macarons like lemon curds often do! Winner 🙂
000_0013
Macarons:

This recipe is Adriano Zumbo’s, and was published a couple of years ago in the Herald Sun. You will definitely need kitchen scales to make macarons.

  •  135g almond meal
  • 135g icing sugar
  • 125g caster sugar
  • 45g egg whites
  • 50g egg whites
  • 40g water
  • 1/4 tsp colouring gel, yellow

Spray four oven trays with cooking oil spray around the edges, and line with baking paper and set aside. Place almond meal and icing sugar in a large bowl, and sift together 3 times. Set aside, along with the 45g egg whites. Put 50g egg whites in a separate bowl. Heat caster sugar and water in a small saucepan, over a low-medium heat, until the sugar completely dissolves (if it slightly burns my tongue, it’s done!). If you do not want to burn your tongue, Zumbo suggests investing in a candy thermometer and heating the syrup until it reaches 118 degrees C (244 degrees F). If the syrup becomes thick and powdery in appearance, you will need to start again. This is because the sugar has been heated too much, too quickly, and instead of dissolving, it has cooked.

Begin beating the 50g egg whites with one hand, and with the other, stream the hot sugar syrup down the side of the bowl to create an italian meringue. Beat until stiff peaks form, the meringue should be thick and very glossy. If you want to add flavouring/colouring, now’s your moment. So add the colouring now. Just lightly beat them into the meringue. Pour meringue into the almond meal, icing sugar and 45g egg whites mixture and mix roughly to combine. When combined, fold mixture together (one single stroke) until there are no air bubbles left. Make a spread across the top of the mixture, and it should disappear in about 20 seconds. Spoon mixture into a piping bag fitted with a round nozzle. (If you don’t have a piping bag set, most supermarkets sell plastic ones, they are Multix brand, in an orange box and contain 5 piping bags with a few different nozzles, plus they’re only about $3. You should be able to find them in the baking aisle). Lock the bag by spinning the top around 4 times. Pipe 3-4cm rounds on the oven trays prepared earlier. Tap the bottom of the trays on the kitchen bench and let them sit for about half an hour, or until mixture is dry to the touch. Meanwhile, preheat the oven to 145c (135c fan forced).

Place in oven and bake for 16-20 minutes. Check macarons at 16 minutes, and to test if they are cooked, pull a macaron off the baking paper. If it is stuck, keep cooking and checking regularly. Cool on trays for 5 minutes, then peel off and place on a wire rack. The mixture should make about 12 -15 large macarons, and about 25 smaller macarons. Macarons keep really well (about 5 days in the fridge) and some say that the longer they are refrigerated, the more the flavour is likely to develop. Macarons taste best when they are stored in the fridge, then brought down to room temperature to eat.

 Lemon Meringue Cake

Lemon Vanilla Cake: (adapted from Taste’s recipe)
  • 200g butter, chopped and softened
  • 1 3/4 cups caster sugar
  • 2 tsp vanilla bean paste
  • 4 eggs
  • 2 3/4 cups self-raising flour
  • 1/2 cup milk
  • zest and juice of 3 lemons
Preheat the oven to 180c. Grease and line a round baking tin with baking paper (I have two tins, so I baked two cakes then another one), and set aside. Beat the butter, sugar and vanilla until pale and creamy. One at a time, add the eggs and beat until just combined. Add the lemon juice and zest and stir to combine. Add the flour and milk in alternate batches, ensuring you start and finish with the adding the flour. Stir with a wooden spoon until combined. To ensure layers are even, weigh mixture and divide into three. I think, from memory, each layer weighed about 312g. Pour mixture into prepared tins and smooth the top with the back of a spoon. Place in oven for 15 – 20 minutes, or until a skewer comes out clean. It should just be slightly golden. Let cakes cool in tins for approximately 15 minutes before removing and placing on a wire rack. When completely cooled, gently wrap cakes in glad wrap and if not using immediately, place in fridge until they are needed.
000_0005
Lemon Curd: (from Zumbarons: A Fantasy Land of Macarons p. 28)
  • 160g lightly beaten egg
  • 240g caster sugar
  •  Finely grated zest of 5 lemons
  • 160g fresh lemon juice (this amounted to be exactly 5 lemons for me)
  • 300g butter, chopped and softened
Put the egg and sugar in a saucepan and mix well. Stir in the lemon zest and juice. Heat over a low-medium heat, stirring constantly until the mixture reaches 85c/185f (You can buy thermometers from homeware or discount stores). Strain the curd into a bowl, discarding the zest and any little bits of cooked egg (I had a few – it’s so easy to do!). Cool the mixture to 50c/133f. When the curd is at the right temperature, beat in the butter gradually until smooth and shiny. If not using straight away, refrigerate. If you are using immediately, allow to curd to cool until it becomes firm enough to pipe.
Lemon Curd
 
 Italian Meringue: (italian meringue is made by making a sugar syrup and adding it to the egg whites to create an extremely thick and glossy mixture)
  • 6 egg whites, at room temperature
  • 1 cup caster sugar
  • 1/3 cup cold water
To make the sugar syrup, slowly heat the sugar and water in a saucepan on a low heat until sugar is dissolved. Turn the heat up to medium until mixture begins to bubble – some people heat their syrup to a certain temperature but I usually do it by touch, usually when the mixture is just too hot for my finger it is done! Begin beating the egg whites, and slowly stream the sugar syrup down the side of the bowl. Beat until mixture is thick and very glossy. NOTE – don’t make the meringue ahead of time otherwise it will become limp. Make it straight before you cover and blowtorch the cake.
000_0015
Assembly:
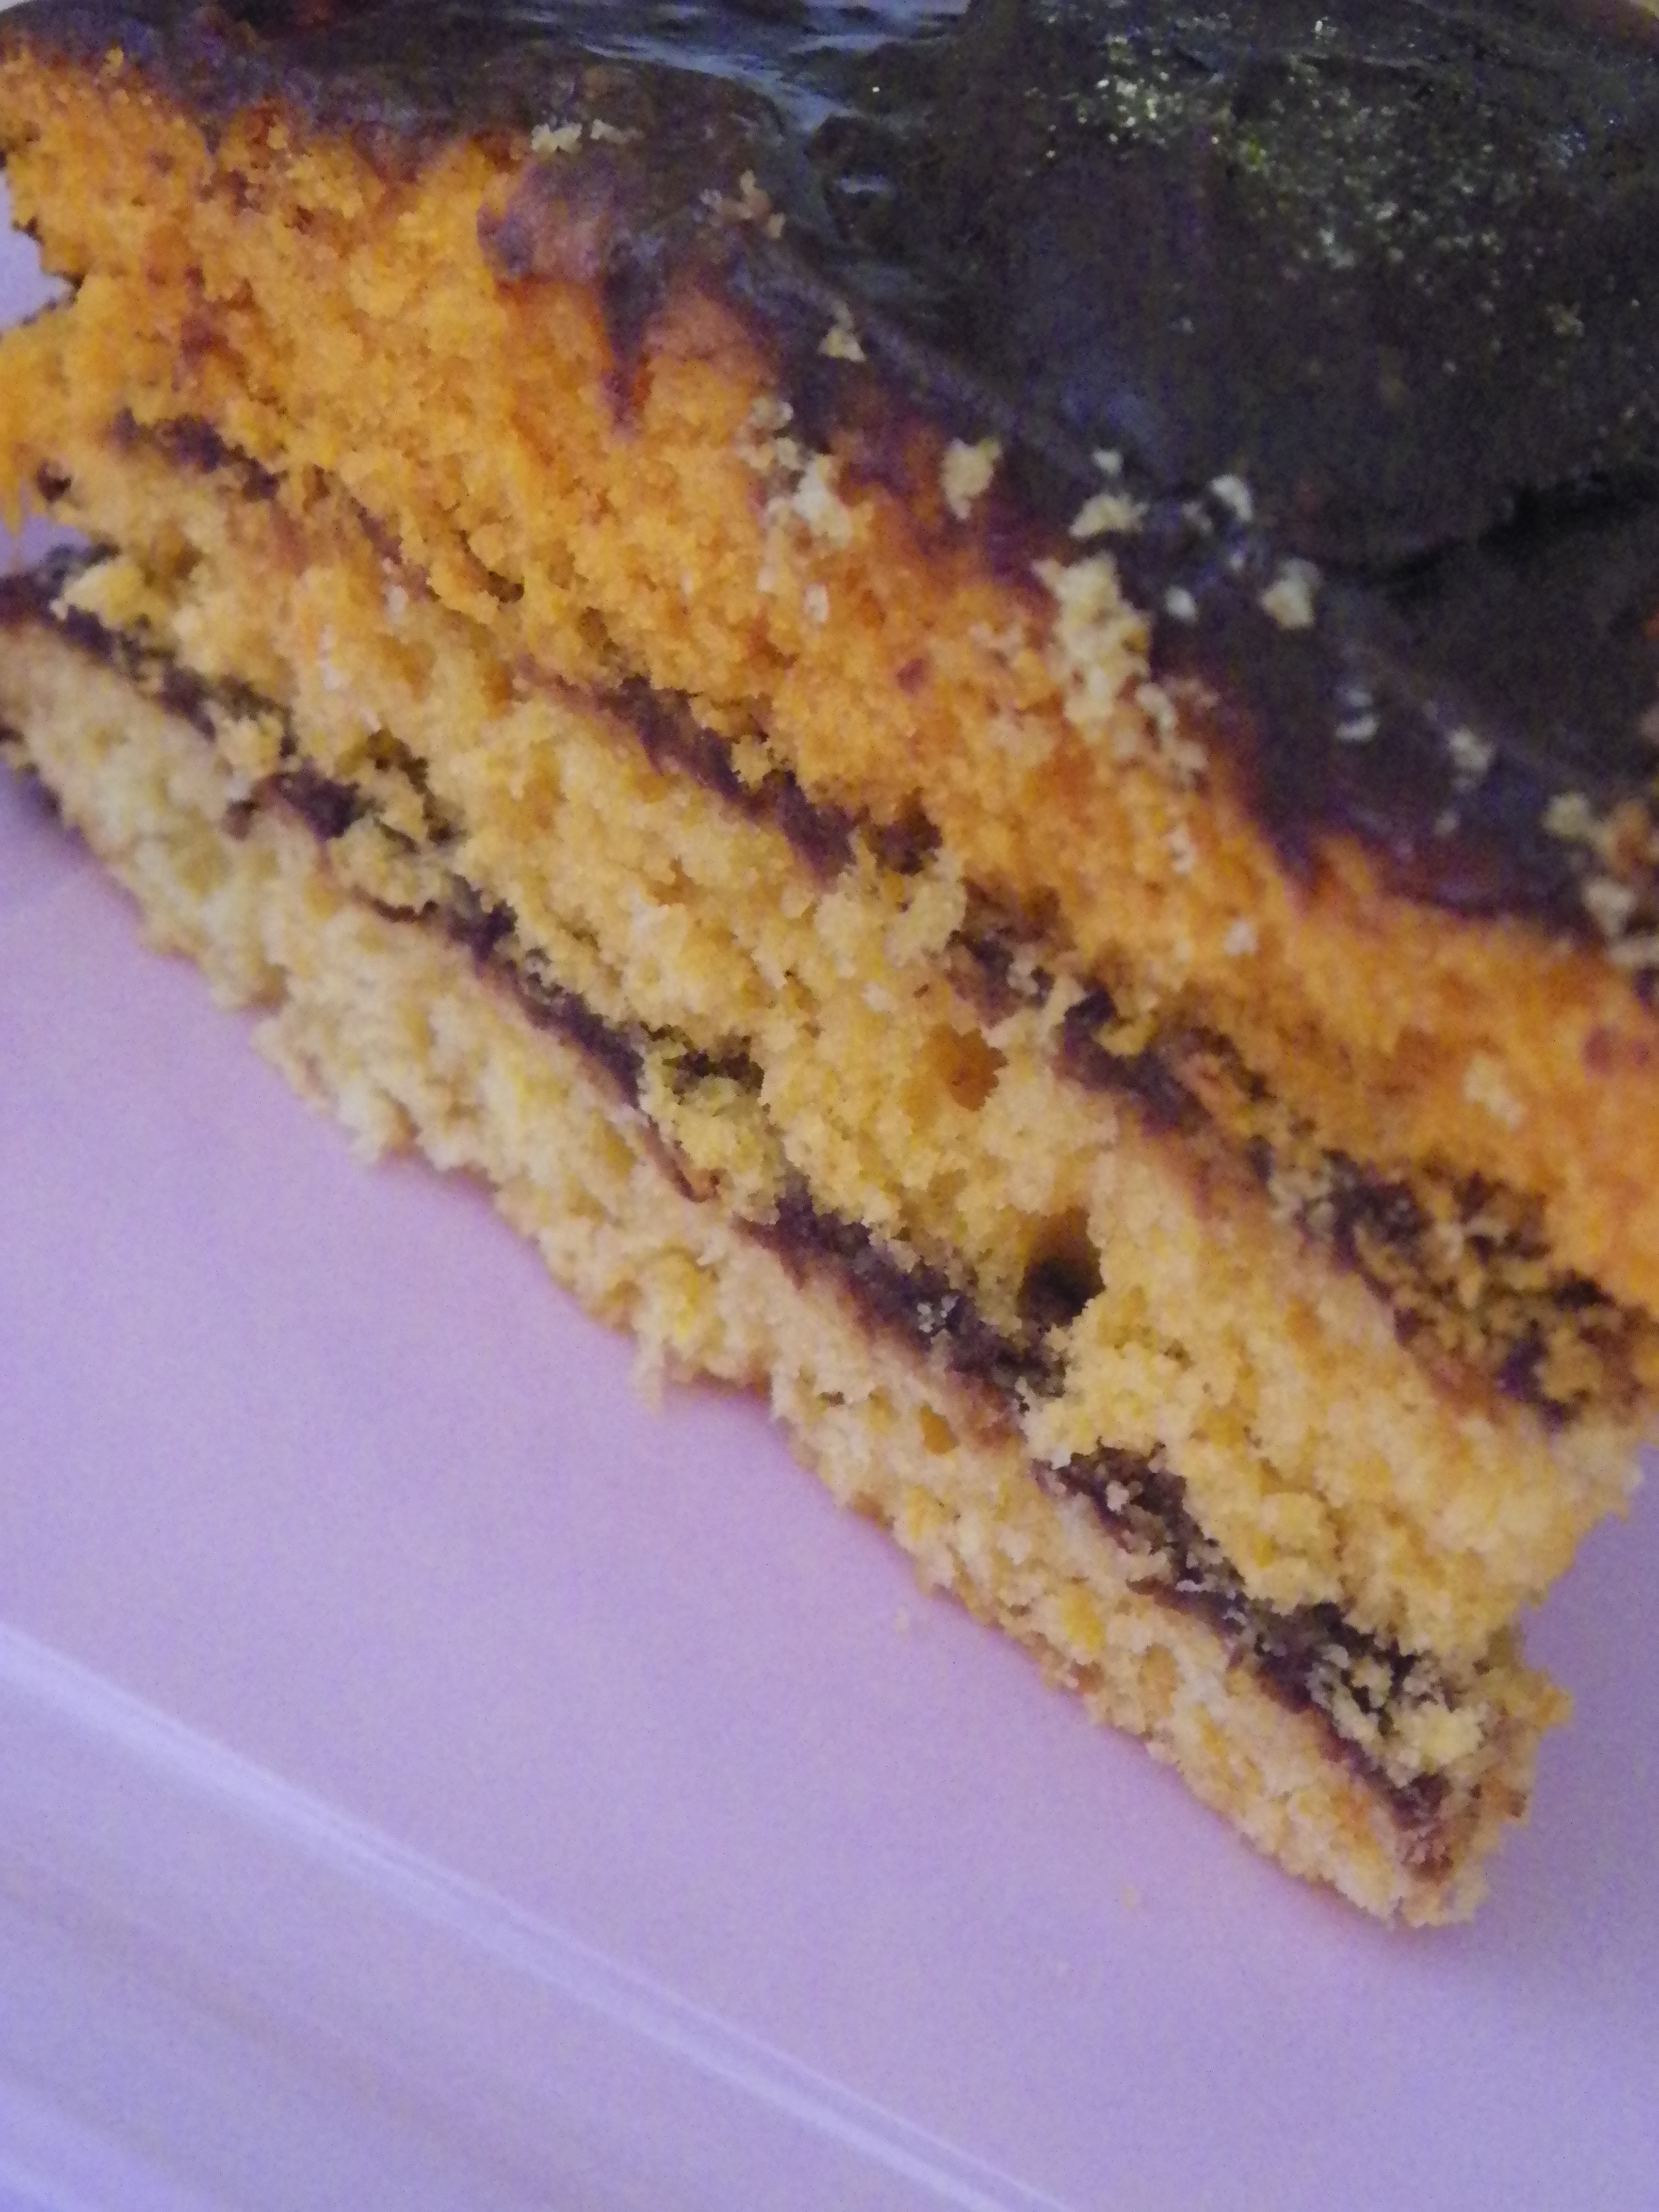
Place one layer of cake on a cake stand, and generously spread lemon curd on top. Place another layer of cake on top of the lemon curd, and once again cover it with lemon curd. Place the final layer of cake on top. and cover will lemon curd. There should be a couple of teaspoons left after the cake and macarons have been filled. With a round-edged knife, generously cover the cake completely with the meringue mixture, making flicks with the knife as you go to create an element of height and visual appeal 🙂 With a chef’s blowtorch, gently go over the meringue from about 10cm, depending on how brown you want the meringue to be. To completely blowtorch the cake took me about 10-15 minutes. If you are not serving the cake immediately, gently cover it with glad wrap and keep it in a cool dry place. Enjoy!
000_0011
 000_0016

Jaffa Ombre Layer Cake

One thing is fairly obvious: I love cake. I try not to eat tooo much cake, but with this one, it was difficult to stay away. I was convinced this cake would be super-rich, but surprisingly, it was quite light. It was certainly still decadent, and I will definitely be making this one again. I know I say this with a lot of things, but I’ve had the idea of making this cake in my head for quite some time. My Mum’s birthday seemed like the perfect occasion – as she (and my Dad) both love the Jaffa Macarons, and I haven’t done ombre, or any type of layer cake really, for a while.

Follow me on Instragram - GemmaAsh

 The recipe I used for the orange cake is from the always amazing Raspberri Cupcakes. It is a beautfiul cake, not too buttery, and the zest from the oraange was intense, but in a great way. This particular post – Orange Cake with Fruit Tingles Icing, is one of my favourite posts from Raspberri Cupcakes, and was one of the recipes I was inspired by, to begin blogging myself (see Musk Layer Cake + Musky Macarons)!

000_0001
Orange Cake: (adapted from Raspberri Cupcakes)
  • 165g butter
  • 3/4 cup caster (white) sugar
  • 3 eggs
  • 2 cups self-raising flour
  • Zest and juice from 1 1/2 large oranges (I had about 1/3 cup of juice)
  • Wilton’s colouring gel, orange
Preheat the oven to 180c (170c) fan forced. Line a 22cm springform cake tin with baking paper and set aside. Beat butter until pale and fluffy. Gradually add sugar. Beat eggs in one at a time until well combined. Stir in the orange zest and juice and flour, until well combined. To divide cake into batches, weigh mixture and divide the number by 3. Pour into three separate, clean bowls. Add small amounts of colouring gel to mixtures, until you have 3 clearly different shades of orange. Pour one batch of mixture into cake tin, and spread with a spoon so it is nice and even. I had a little bit of trouble with this because the cakes were so small, but they were all fine in the end. If you have more than one cake tin, it is okay to put two on the top shelf of your oven, if they fit. Bake cakes for 10-15 mintutes, or until a skewer comes out clean. Begin checking the cakes from 10 minutes.
Let cakes cool in the tin for 10-15 minutes. If you are using the cakes straight away, let them cool completely on a wire rack, and then begin layering and decorating. If not, gently wrap cakes in cling wrap tightly – be very careful as the layers will be quite thin and fragile. Place in fridge overnight. It is best to bake cakes the day before, or on the day of use. You could probably freeze them if you were really time poor, however, sometimes I find that cakes can taste a bit strange when they have been frozen!
000_0006
Jaffa Ganache:
This is the same ganache I used for the Jaffa Swirl Macarons, however I just quadrupled it.
  • 400g good quality dark chocolate, chopped
  • 2 cups thickened cream
  • Zest of 2 1/2 oranges
Place all ingredients in a medium saucepan and stir over a low heat until smooth. If using the next day, cover and refrigerate, then take out an hour or two before use. If using on the same day, cover and refrigerate for about 30 mins, or until ganache has slightly set. I probably made my ganache a little too late for when I needed the cake, so you can see in the pictures that it was still quite runny. I tried to make the best of it though, and exposed the colours of the cake by letting the ganache drip around the side. I originally wanted to cover the cake completely in ganache, but I think it still looked nice.
JaffaCake
 
Assembly:
Place the bottom cake on a large cake stand or a cake board. With a round-edged knife, spread a layer of ganache on the top, and layer with the second cake. Repeat the process, and cover the cake completely with the ganache. If the ganache is too hard, dip the knife in warm water – it will make it a lot easier to spread out.
000_0010
You can decorate the cake however you like – you don’t even have to decorate it thought, if you don’t want to. You could use cachous, glitter, you could pipe swirls of ganche – anything you like! As you can see here, I went for choc-dipped orange segments with a tiny bit of gold glitter.
000_0003

Pink Champagne & Strawberry Layer Cake + Mini Cupcakes

I had always wondered what Pink Champagne would taste like in a dessert, as I had heard many stories and seen many recipes, but still wasn’t one hundred per cent convinced. As was it was my Nanna’s 81st Birthday coming up, I thought it would be the perfect time to try something Pink Champagney-cakey, because my Nanna lovvvvvvvvvvvvvvvvvvves Champagne, more than anyone else I know. I began my search for an inspiring recipe and stumbled across a Pink Champagne Cake Pop number from the ever-amazing Sweetapolita. I knew then I had to make it, because when it comes to cake, Sweetapolita is up there with the best and I knew it would be fantastic!

Unfortunately, when I made the cake I was running quite low on time (nothing ever changes!), and it wasn’t as pretty as I hoped it would be. So, it was definitely a rustic looking cake. The photos don’t do the cake justice either, I literally finished icing it and had to run out the door in my ten-inch heels, so the fact that the cake survived the journey to the restaurant is a miracle in itself! Lucky it did though, because it was really, really yummy. There was just enough booze to counteract the amount of butter and sugar in the icing, and the tang of the soaked strawberries in the middle certainly made it one delightful biteful!

My favourite part of the cake was definitely the Pink Champagne soaked strawberries in the middle. I cooked them down with some vanilla and a bit of sugar, and they were soooooo good! I could have happily eaten them all there and then.

Pink Champagne & Strawberry Layer Cake: (adapted from Sweetapolita)

  • 3 cups cake flour (if you don’t know what Cake Flour is – read this)
  • 1 ½ tsp baking powder
  • ¾ tsp baking soda
  • ¾ tsp salt
  • 170g butter, chopped and softened – not melted
  • 2 cups caster sugar
  • 6 egg whites
  • 1 tsp vanilla bean paste/vanilla extract
  • 2 cups Pink Champagne
  • 1 cup chopped strawberries

Preheat a fan forced oven to 175c (350F), and grease and line two 22cm spring form pans. Beat the butter and sugar together until pale and creamy, about 5 minutes. Sift the dry ingredients (flour, baking powder, baking soda and salt) together and set aside. To the butter and sugar mixture, gradually add the egg whites, followed by the vanilla. Add and alternate the dry ingredients and the champagne – make sure you begin and end with dry (3 dry, 2 wet). Stir in chopped strawberries. Mix until fully combined, but ensure you do not over mix. Evenly distribute the cake batter (use scales to ensure they are exact) into the two prepared tins. Place in preheated oven, and cook for 35 minutes, or until a skewer comes out clean. The cakes should spring back slightly when done. Do not open the oven until the cakes have been cooking for 25 minutes. Leave cakes in pan to cool for 10 minutes, then turn out onto a wire rack.

 Pink Champagne Buttercream: (this can be made a few days in advance and stored in the fridge)

  • 350g salted butter, chopped and softened, not melted
  • 2 cups icing sugar mixture
  • 1/3 cup Pink Champagne
  • ½ tsp vanilla bean paste/vanilla extract

Beat butter until pale and fluffy, about 5 minutes. Add the vanilla. Gradually add the Pink Champagne and sugar. After buttercream is fully incorporated, beat for another 5-8 minutes.

Pink Champagne soaked Strawberries:

  • 1 small punnet strawberries, roughly chopped
  • 1/3 cup Pink Champagne
  • 1 tsp vanilla bean paste/vanilla extract
  • 3 tsp caster sugar

Place all ingredients in a small bowl and leave to soak for up to an hour (you could leave it longer if you wanted to). Pour ingredients into a small saucepan and cook over a medium heat until mixture is boiling. When it starts to boil, turn the heat down to low and simmer for 45 minutes, or until mixture is thick and syrupy. Let strawberries cool before you put them on the cake.

Assembly:

Place one layer of cake on a stand or board, or whatever you’re using. Spread a very thin layer of buttercream over the first cake, and evenly pour the soaked strawberries, and sandwich with the second layer of cake. Cover the entire cake with a layer of buttercream, using a round edged knife. I find the easiest way to do this is to get a cup of warm water, and to regularly dip – it just goes on smoother and won’t break the cake. Top the cake with a handful of strawberries for decoration and freshness 😉

I also made some mini cupcakes with the leftover Pink Champagne buttercream I had. I managed to get some better photos of these ones…

I used the foolproof recipe I always use for Vanilla Cupcakes, they work perfectly every time and are so easy!


My First Order – Choc and Vanilla Cupcake Tower + Layered Musk Cake

I was a bit nervous about doing this! It was my friend Nikki’s 21st Birthday Party, so even more reason not to stuff up. My time management skills are close to non-existant, so it took a lot of careful planning and timing over 3 days for this to eventuate. Anyhow, we got there. And I was so happy with the end result, as was Nikki. I can’t believe I actually produced this!

Nikki wanted 70 cupcakes, half chocolate and half vanilla bean with pink and purple icing and white fondant hearts. It was also decided that I would make the Musk Layered Cake for the top layer, too. I was excited and up for the challenge! This is the first time I’ve ever properly done a cake for a party, and I really enjoyed it. Everything came together nicely and ran smoothly, with minimal disasters (there were still a couple!). The one thing I really wanted to nail were the cakes themselves. So many times at parties, the cakes, in particular cupcakes, whilst looking amazing, are often horribly dry, tasteless  and crumbly to eat. I desperately wanted to achieve a tasty and fluffy cupcake as well as perfectly swirled buttercream icing. I was lucky I found 2 fantastic recipes that worked beautifully, and the cupcakes were so delish!

I used recipes from Taste.com (best website ever!) for both the vanilla cupcakes, and the chocolate cupcakes. I made another half of the vanilla cupcake recipe, and doubled the chocolate one, and they both made around 38 cupcakes each. A tip for the vanilla cupcakes – don’t substitute vanilla bean paste for extract or essence, or god forbid imitation essence!! I think the paste really made the cupcakes, plus I love the little flecks of vanilla bean, too.

For the fondant hearts, I simply used a small heart cutter from West’s, an amazing cake supplier in Burwood, Victoria. All you have to do is roll the fondant with a rolling pin between two sheets of baking paper until it is about 1cm thick, then cut away. I brushed a tiny amount of edible glitter on each heart, which I also got from West’s. Oh, and my fondant supplier, who also made the ’21’ on top of the Musk Cake, is amazing, check out her awesome cakes here!

For the buttercream, I just beat 350g of softened, salted butter until pale and creamy, and slowly added 5 cups of icing sugar mixture. Once all that is combined, then add your colouring/flavouring. I ended up making 2 batches of pink buttercream for the vanilla cakes, and another half of the recipe for the purple icing for the chocolate cakes. For the musk buttercream, I just added 3 drops of musk essence, and 4 rolls of crushed Musk Lifesavers. If you leave the buttercream in the fridge overnight like I did, make sure you take it out for it to come down to room temp about 2-3 hours before. Although, you can always buzz it in the microwave for 20 seconds.

I really enjoyed piping the cupcakes, and they weren’t as difficult as I expected them to be. Because I was SO over washing dishes, this time I just used the Multix disposable piping bags, which are available at most supermarkets, and come in a bright orange box in the baking aisle. However, I used a  good quality large star nozzle, which worked perfectly. When you are piping a swirl, the key is to overlap the previous layer by about half, otherwise you will end up with big gaps and it will be uneven 😦

I can’t wait to make these cupcakes again, and if you ever want/need to make them, PLEASE use these Taste recipes. You won’t regret it I promise!!

Happy Birthday Nikki!

Red Velvet Giant Cupcake

For ages I had wanted to try making one of these giant cupcakes, they just look so good! I am also a huge fan of red velvet cake with cream cheese icing – best flavour combo and the deep red colour of the cake is gorgeous, too. It was Mum’s birthday (I’m running out of brithdays!), so I thought why not give it a go – and I’m sooooo glad I did – it tasted amazing! I know the decorating isn’t quite perfect, the icing was a bit runnier than I would have liked but I got to use my cute little red roses with made a nice touch 🙂

I wasn’t sure at first because I could only seem to find a good red velvet cupcake recipe, and I was a bit freaked out about the measurements as the giant cupcake pan is so big! BUT I finally found a fellow blogger who had done this before – thank god! When I poured the mixture into the tins, I was a little worried that it wouldn’t be enough because the bottom of the top cake was a lot smaller than the top of the bottom cake…but it was ok, once it was iced it looked damn scrumptious.

 I also dragged out my Nanna’s stand mixer that she hadn’t used in decades (yes, I’ve always handmixed/whisked my delights). Talk about life being made easier, I now understand people’s undying love of the KitchenAid. WOW! I love this photo of the instruction booklet – so 50’s (I’ll keep my feminist views at bay!)

Red Velvet Giant Cupcake: (adapted from FoodBuzz)

  • 8 tbs butter, softened – not melted
  • 1 1/2 cups caster sugar
  • 2 eggs
  • 3 tbs good quality cocoa
  • 4 tbs red food colouring (or 1 tsp Wilton’s colouring gel)
  • 1 tsp vanilla extract or vanilla bean paste
  • 1 cup buttermilk
  • 2 1/4 cups plain flour
  • 1 tsp sea salt
  • 1 tsp baking powder
  • 3 tsp white vinegar

Preheat oven to 180c (170c fan forced). Grease and flour tins – don’t use too much flour like I did otherwise you’ll end up with cooked white blotches on the outside of  the cake 😦 In the bowl of a stand mixer fitted with a whisk attachment, or in a large mixing bowl, combine butter and sugar until pale and fluffy. Add the eggs, one at a time and whisk well to combine. You may need to scrape down the bowl of the stand mixer. In another bowl, combine the cocoa, vanilla and red food colouring (if you are using liquid colouring it may turn to paste, but if using gel it will be powdery – either way it is fine). Slowly add the cocoa mixture to the cake batter and mix until well combined and until all of the cake batter is coloured. Turn the mixer to low and slowly add half of the buttermilk. Add half of the flour and salt and until combined. Scrape down the bowl and repeat the process with the buttermilk and flour. Beat until smooth. Add baking soda and white vinegar, and beat for a few more minutes. Pour mixture into prepared tins and bake for 35-40 minutes or until a skewer comes out clean. The top of my cake took less time than the bottom, but it didn’t dry out at all. Let cakes cool in the tin for 20 minutes, then turn out onto a wire rack to cool completely.

Cream Cheese Icing:

  • 250g block cream cheese
  • 2/3 cup butter, softened – not melted
  • 2 cups icing sugar mixture
  • 1 tsp vanilla extract

Beat together the cream cheese and butter, until cream. Mix in the vanilla, then gradually add the icing sugar.

To assemble cake, spread a thick layer of icing on the top of the bottom cake. Sandwich top cake over the bottom one and gently press down. To ice, use a round edged knife. For the outside of the bottom cake, I just melted a bit of chocolate and spread it with a round edged knife. It hid all my white blotches nicely!


Â